Optimizing Print Quality

Basic Quality Factors
Getting the best quality prints out of your printer requires some fine-tuning of your settings and hardware. Even some of the cheapest 3D printers can create comparable quality prints to some of the most well-known brands around with enough tuning and calibration. Of course, many modern 3D printers are equipped with hardware and features that make it much easier to obtain this level of quality. The first few factors we will look at are the Layer Height and Nozzle Size.
Layer Height plays a major role in determining your print quality. The smaller your Layer Height, the more resolution you can achieve with your prints. The standard 0.2mm layer height can create decent enough prints, though lowering your layer height to 0.12mm or less will result in much more defined print quality. It is important to keep in mind that lowering your Layer Height will also have a significant effect on your print time.
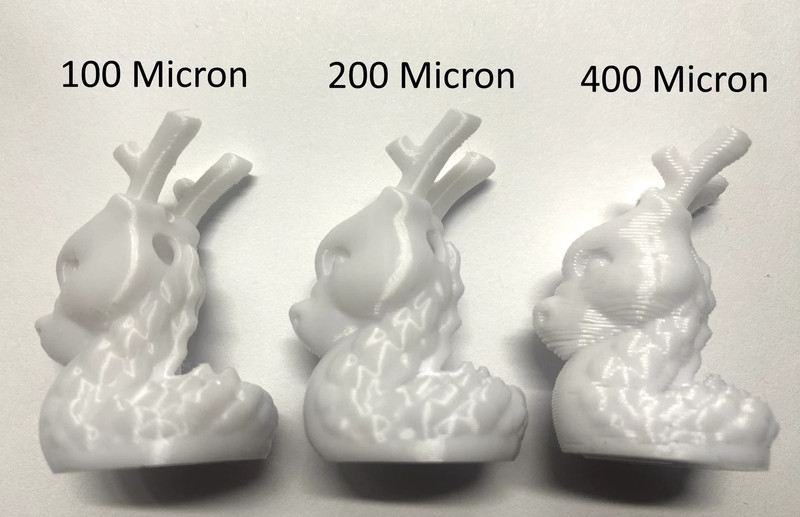
Nozzle Size goes hand-in-hand with your Layer Height. While you can always lower your Layer Height for a bump in resolution, swapping to a nozzle with a smaller diameter will make it much easier for your printer to really take advantage of these smaller Layer Heights. If you want to lower your Layer Height by more than 50% of your nozzle size, then you will want to swap to a smaller nozzle diameter. This will make it much easier for your printer to achieve quality layer lines without having to limit its output to prevent overflow. Again, swapping to a smaller nozzle size will also have a drastic impact on print speed.
Cooling and Overhangs
Proper part cooling is necessary to achieve the best possible print quality from your printer. If your cooling fans can not keep up with the flow of material from your hotend, you will see a noticeable drop in quality in the form of inconsistent layer lines and poor layer adhesion. If your cooling fans are properly tuned and you are still experiencing cooling issues, it may be caused by your print speed. Lowering your print speed will give your cooling fans a chance to keep up with your material flow. Alternatively, you can raise your Minimum Layer Time setting, forcing the print head to wait for the allotted time to pass before continuing on to the next layer. This will give your prints the time they need to cool down in between layers and prevent the deformation of still-hot material. This setting is often used when printing several islands around the model that do not take much time to complete each layer.
Your cooling fans also play an important role when printing overhangs. If your printer does not have an optimal cooling solution, you will notice sagging overhangs as your printer can not cool the material before it deforms. If you notice issues with your printer’s overhangs, check that your cooling fans are running properly and slow down print speeds if the problem persists.
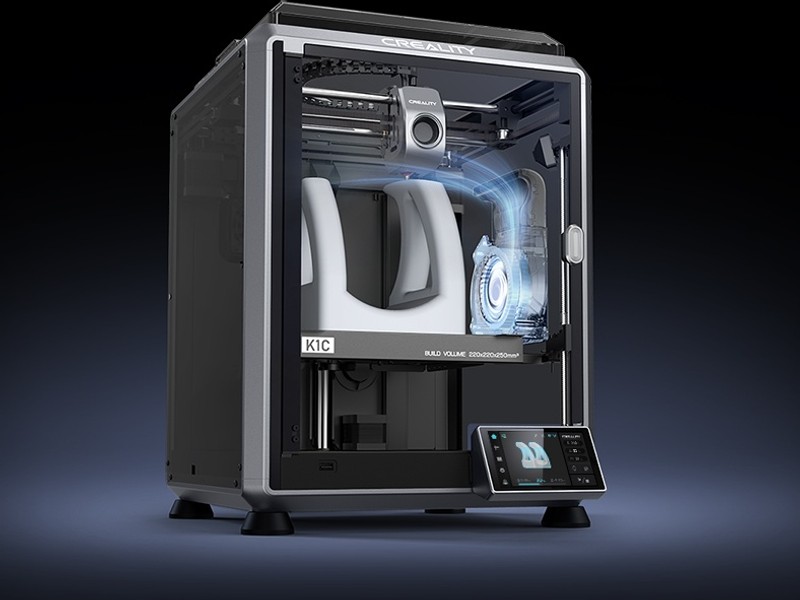
Many high-speed 3D printers have begun implementing larger auxiliary part cooling fans to help provide the additional cooling that is required when printing at higher speeds. These fans can also help you increase your overall print quality with improved overhang performance and general layer cooling.
Support Usage
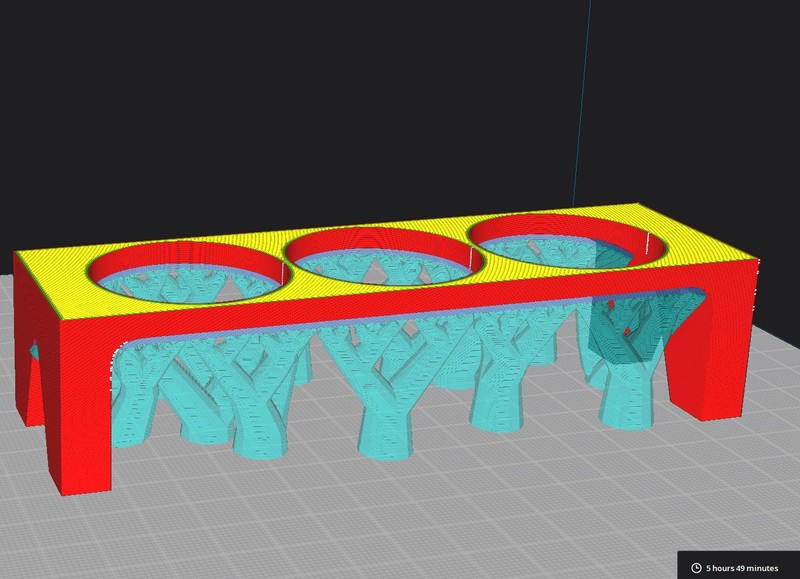
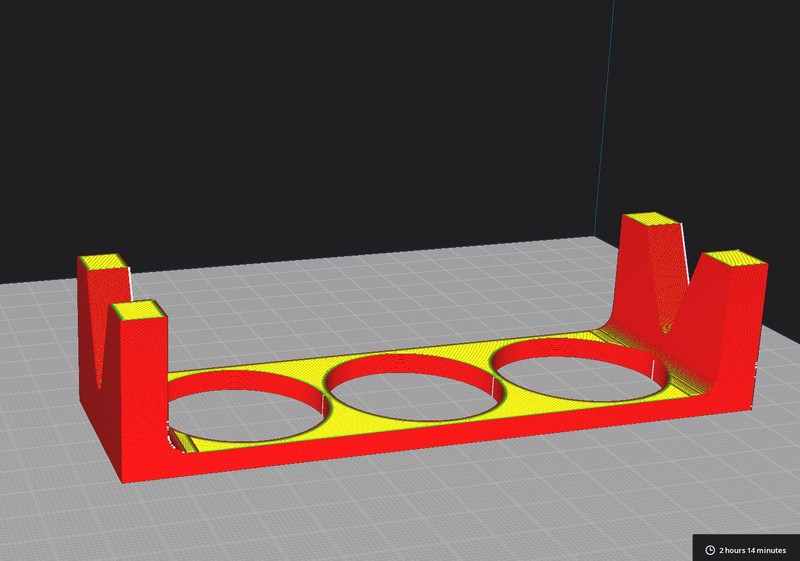
Regardless of how fine-tuned your printer’s cooling and overhangs are, you will eventually need to use support to keep your prints from failing. Support material should be a last resort when it comes to preserving print quality, as the structure used to create the support can stick to the surface of your printed part. This will result in a rough texture and deformity of the print surface where it meets your support structures. Part orientation can reduce or even eliminate the need for support material in some cases. If possible, attempt to print your model in an orientation that does not require the use of supports for the best possible print quality.
Input Shaping and Pressure Advance
Input Shaping is quickly becoming standard for many modern 3D printers. When calibrated properly, Input Shaping will reduce the amount of vibrations made during printer operation. This leads to not only a quieter 3D printing experience but also comes with the added benefit of reducing vibration-related print quality issues, such as ringing and ghosting. If your 3D printer comes with Input Shaping calibration, be sure it is properly tuned for the best possible results in your prints.
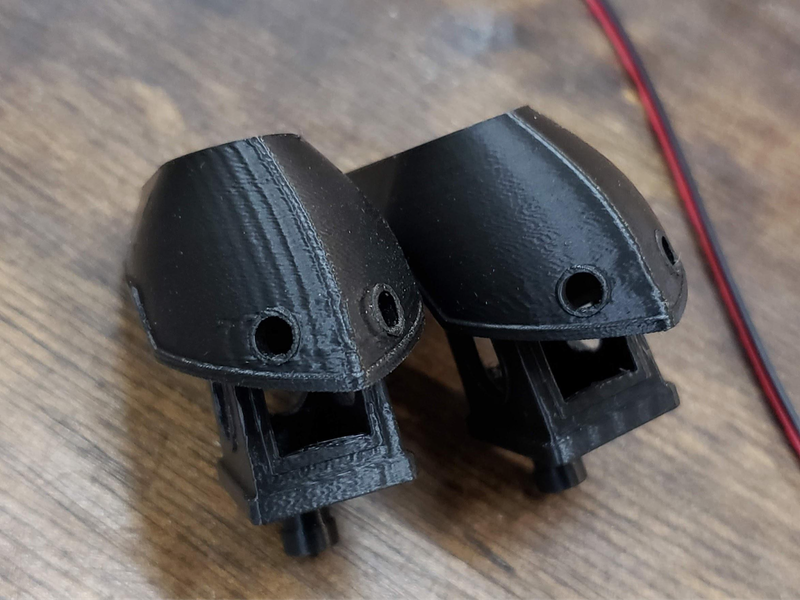
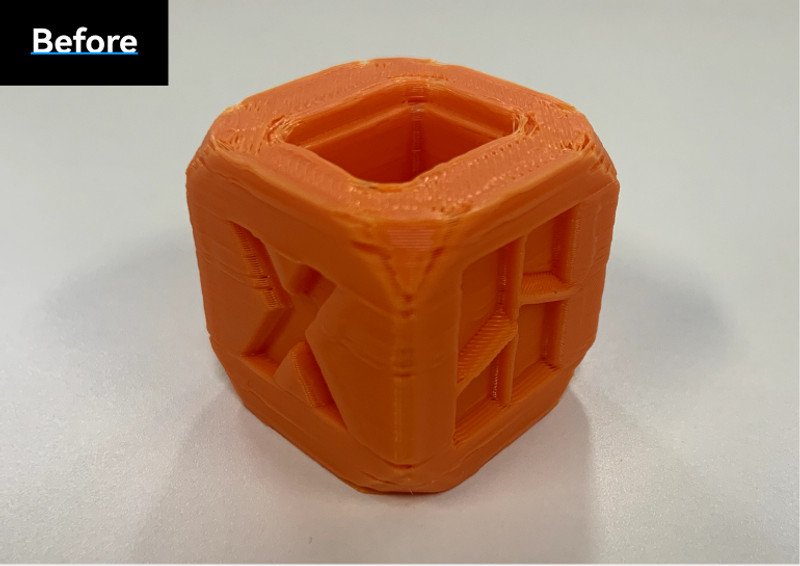
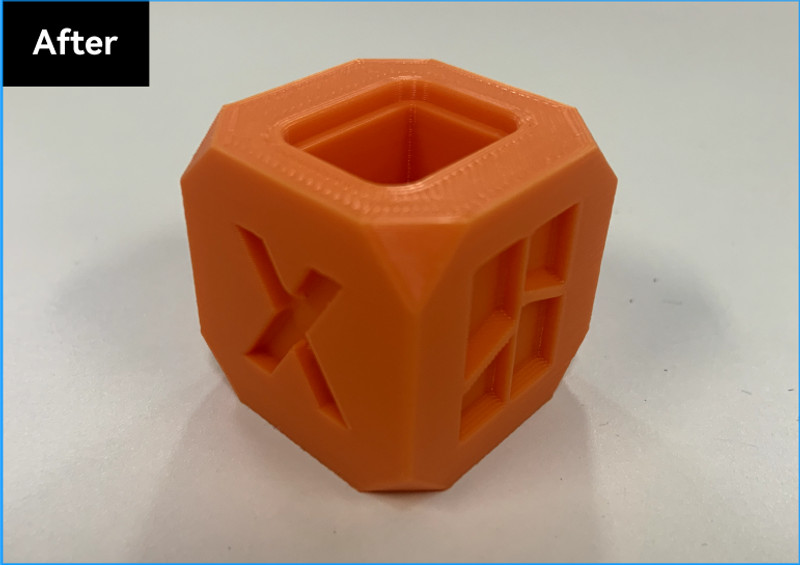
Pressure Advance is another modern 3D printing feature that can give you a significant increase in print surface quality when calibrated properly. Pressure Advance makes micro-adjustments to your printer’s extrusion speed during printing to ensure that the flow of material is consistent with the speed of your print head, reducing flow when the print head slows down and increasing flow when it speeds up. By making these micro-adjustments, you will notice better corners and far less stringing and blobs in your prints.
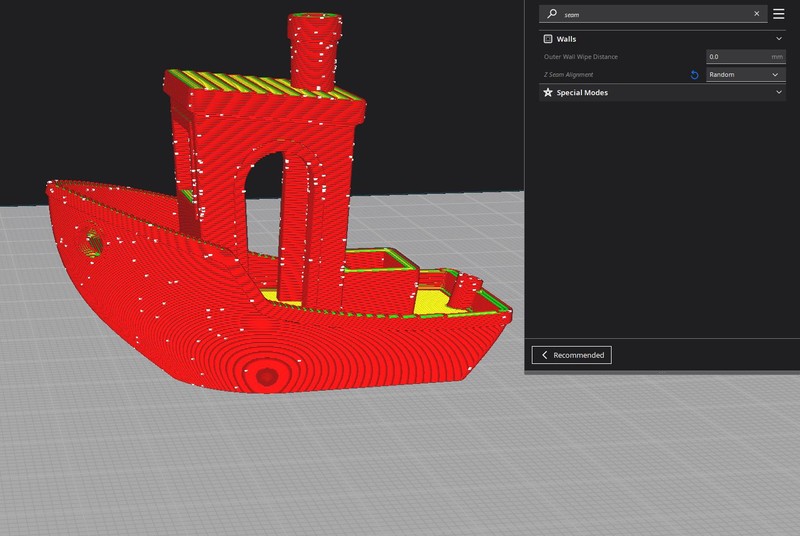
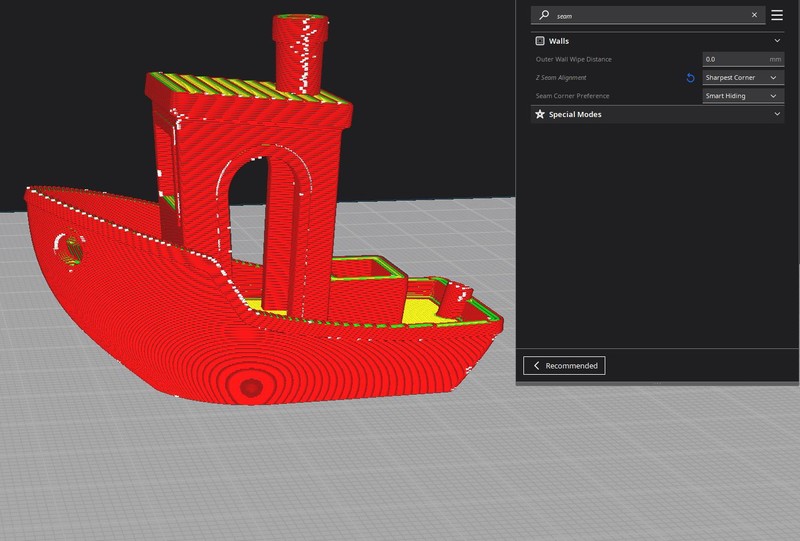
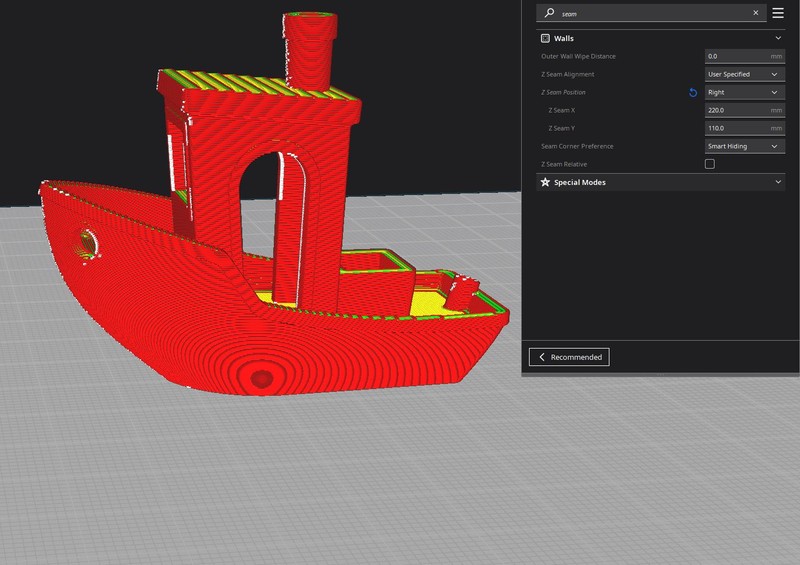
You have the option of letting the Slicer automatically place the Seam on the sharpest corners of the model, making the Seam hard to spot on the majority of prints. This is a fine default option to start out on and is much more preferable than a random Seam placement. Should this not work out for your particular model, you can always manually choose which side of the model your Seam is placed to attempt and hide it as best as possible.
