Mass Printing on the Bambu Lab A1 mini

If you make a purchase using a shopping link on our site, we may earn a commission. Learn More
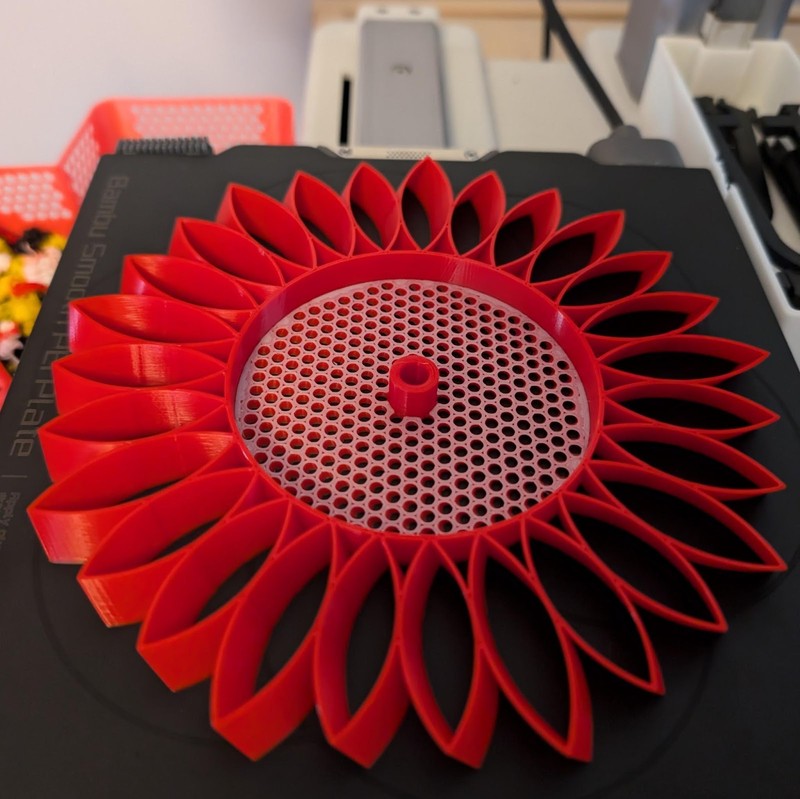
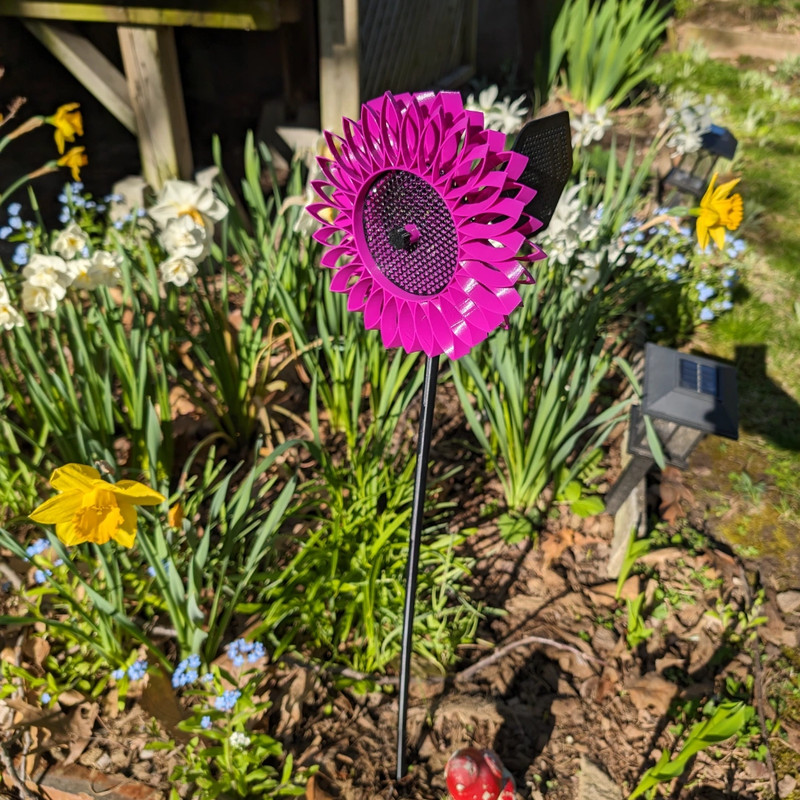
It all started with this. This is the Sunflower Windmill by BamBam Design at MakerWorld, which won MakerWorld’s Floral Spring contest a few months ago. It really looks like a sunflower. I thought my wife would love it and it would reinvigorate my 3D printing. I suspect some of you “run out of things to print” much like I do and it’s fun to find something that fires up the imagination again.
I wanted to print it in PETG. PETG fares much better outdoors - it’s more heat resistant and more weather resistant. It won’t get brittle after sun exposure, at least not as quickly as PLA. I had black PETG but no yellow PETG. I did have a lot of Bambu Lab PETG Basic purple, simply because that’s all they had in stock at the time and I didn’t have any purple of any filament anyway. The purple looked very much like the echinacea that we planted in our front yard. So why not make an echinacea windmill?
Though this is not a complicated print, there’s a lot going on here. There are 4 plates to print on my Bambu Lab A1 mini, totalling 9.1 hours of printing. There’s the left-facing small flower, the right-facing small flower but also parts and a rod. The flowers were in 2 colors: the “petal” color, then the center color, which is printed in alternate layers. The AMS lite had no problem with these color changes - there weren’t many, and there was no room for a prime tower so the printer went about its business fairly quickly.
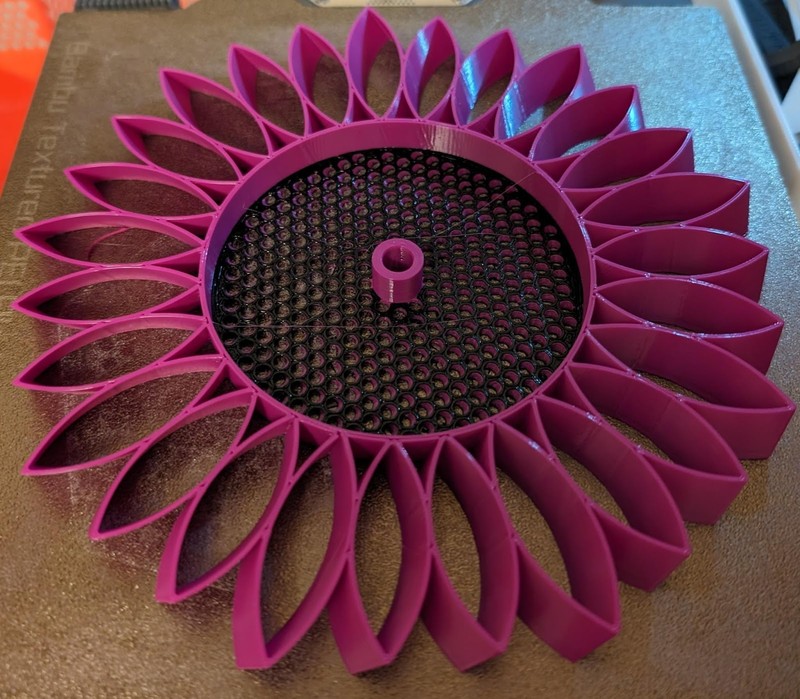
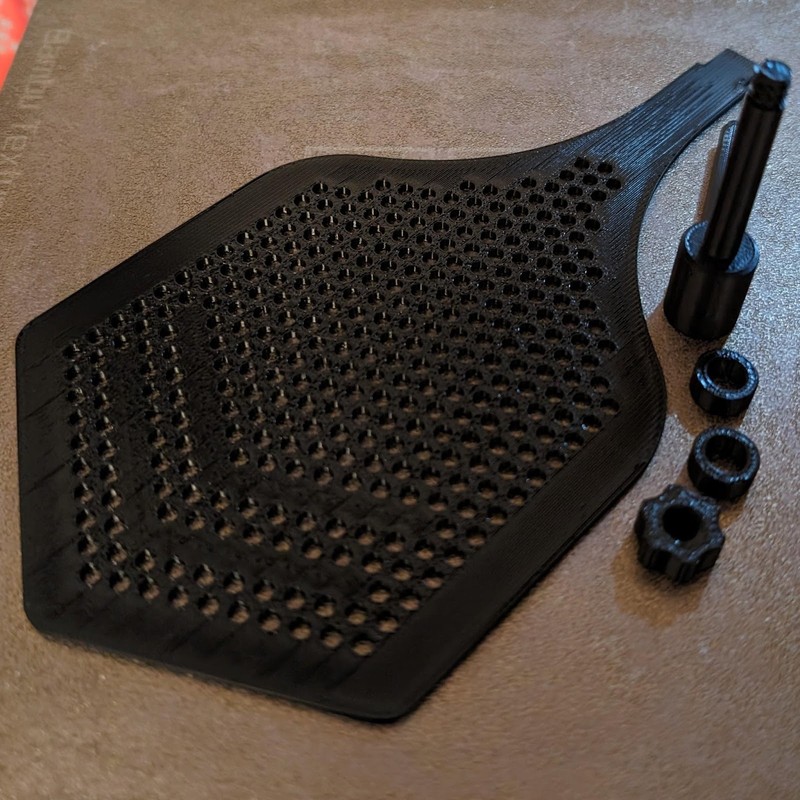
The parts consisted of a large guide plane to catch the wind and point the flower upwind, a central axle and mount, two spacers and a threaded cap.
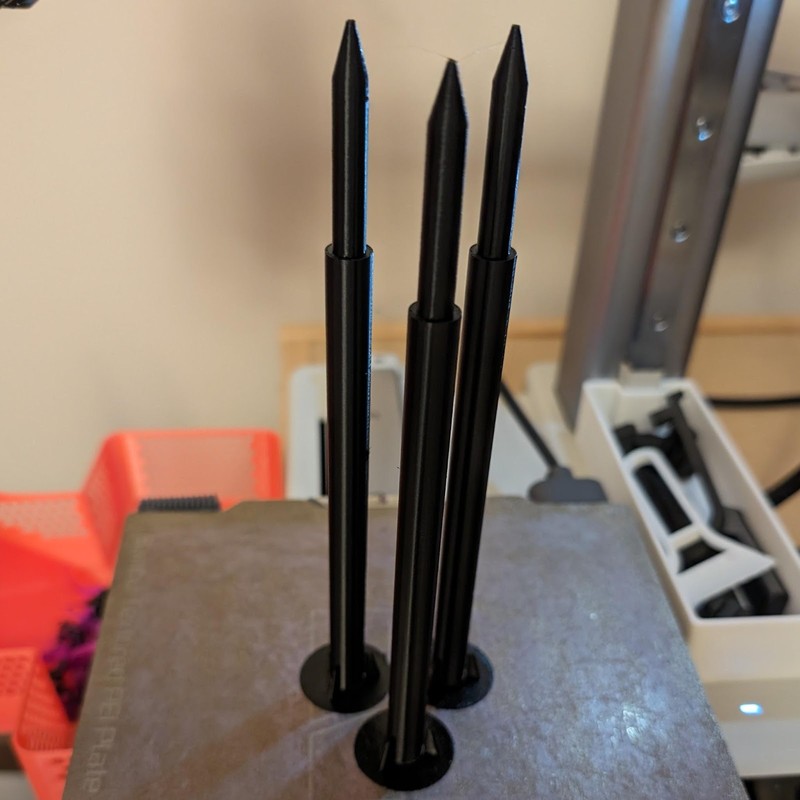
Finally there was the rod, which was printed vertically and took a surprisingly long time to print since it was so tall.
After printing it and assembling it, I was very impressed with the design. The flowers counter-rotate in the wind since the petals are angled in opposite directions. They rotate very freely on the smooth, slippery PETG axle. The spacers keep them from rubbing against each other and the other parts. The guide vane fits into a slot at the end of the axle very, very tightly. The axle upright fits into the rod. And the cap screws onto threads at the end of the axle, holding everything together quite securely. Neat!
The rod wasn’t very tall and my wife wanted it much taller. The rods fit together so I just printed three more. To secure them, I glued the rods together using superglue.
Looks good!
The impressive height was the one weak point of the print. It’s quite top heavy and the rods are thin. It would whip around in the wind. The next day it was lying on the ground - one of the rods had snapped. This was probably accentuated by the lever effect of the weight up high, being pushed by the wind. I needed another solution for mounting.
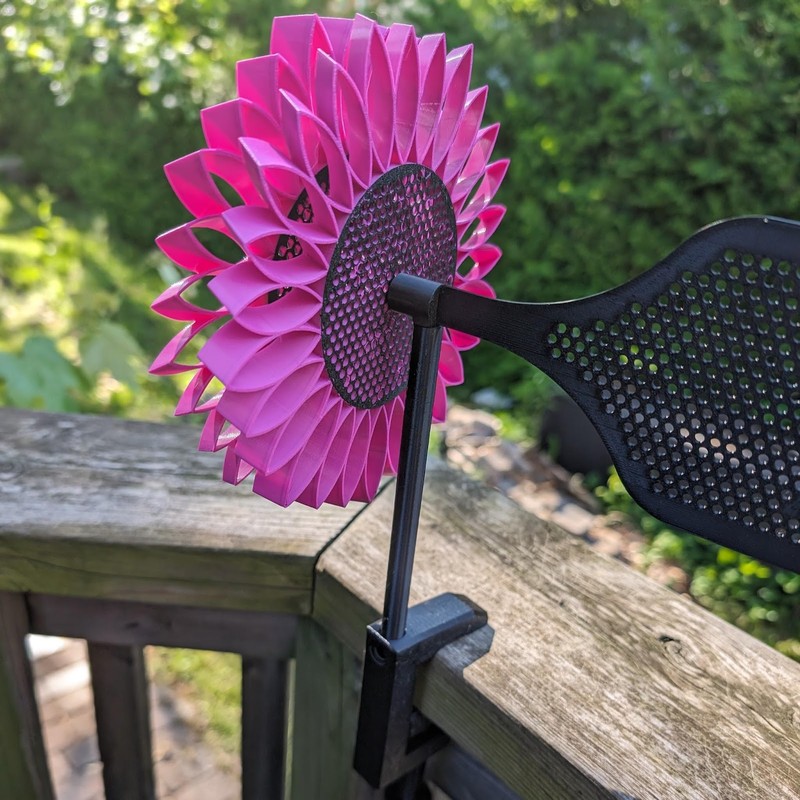
The designer has lots of solutions around this system and has released this clamp. It’s very sturdy and very well designed. The threads are very strong. The bottom jaw of the clamp clicks into place on the tip of the screw. The jaw rides up a channel. A hole in the top (and on V2, the side as well) accommodates the rod.
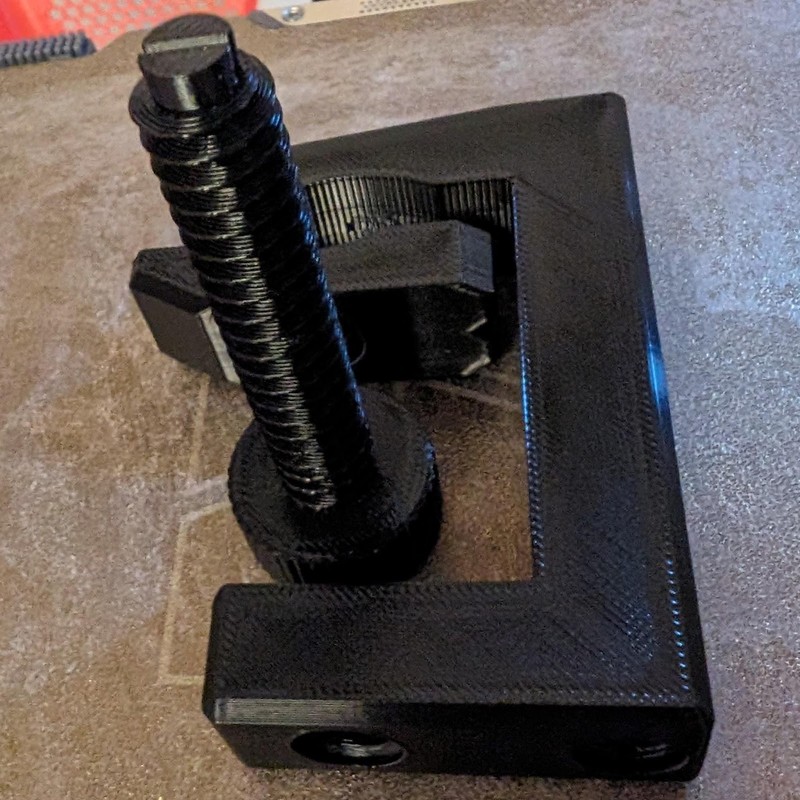
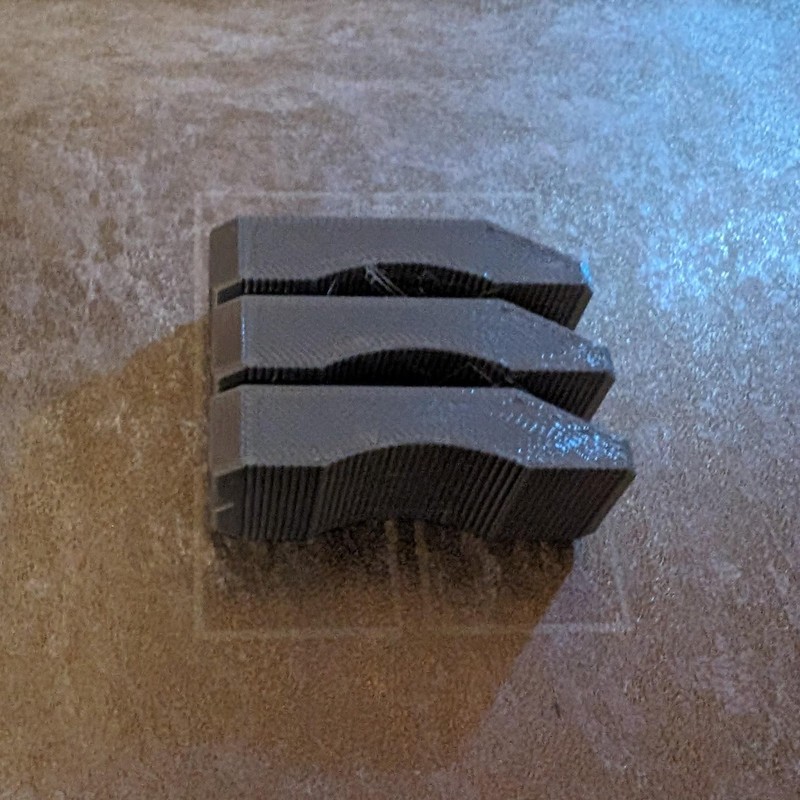
This clamp is very strong and holds onto our deck rail very securely. Just to be sure, I printed the TPU jaw for extra grip, but it didn’t seem necessary.
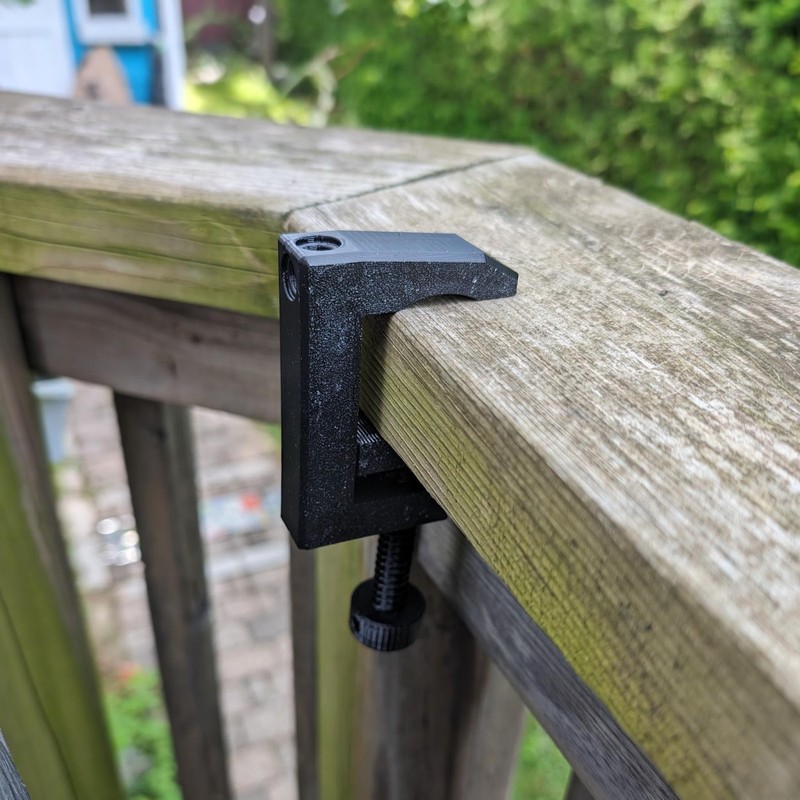
This combined solution with only one rod works very well!
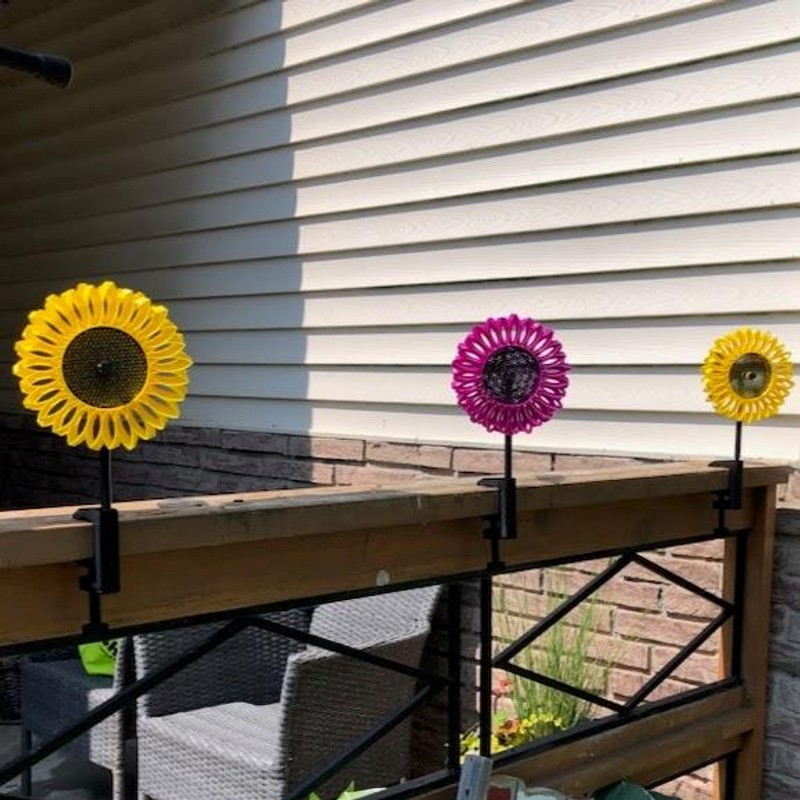
My mother-in-law loved it so much she wanted me to print one for her. I printed one with a clamp. This went well and she was wondering if I could print two more for her, in different colors on either side of the first one. These I printed in yellow and black like the original sunflower. I had some yellow PLA to use up and I thought I would use it with the black PETG like before. This led to an interesting discovery - PETG will adhere to PLA but PLA will NOT adhere to PETG! On the Bambu Lab A1 mini, PLA prints at 220°C while PETG prints at 255°C. So when PETG prints on top of PLA, the PLA underneath gets very thoroughly melted and the print fuses together well. But when PLA prints on top of PETG, the PLA is too cool to thoroughly melt the PETG. The PLA just sits on top and there’s no bonding. It will peel right off when cool. Noted!
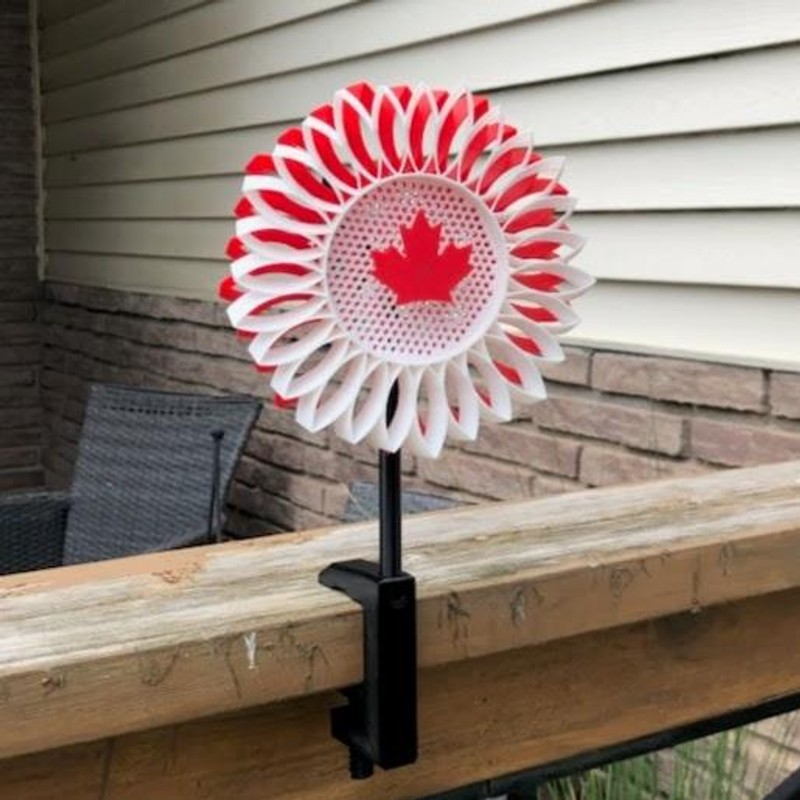
My mother-in-law also wanted one for Canada Day and suggested a maple leaf cap. This was quick and easy to do in Tinkercad - FreeCAD is the “proper” way to do it but it can sometimes be overly involved for simple things like this.
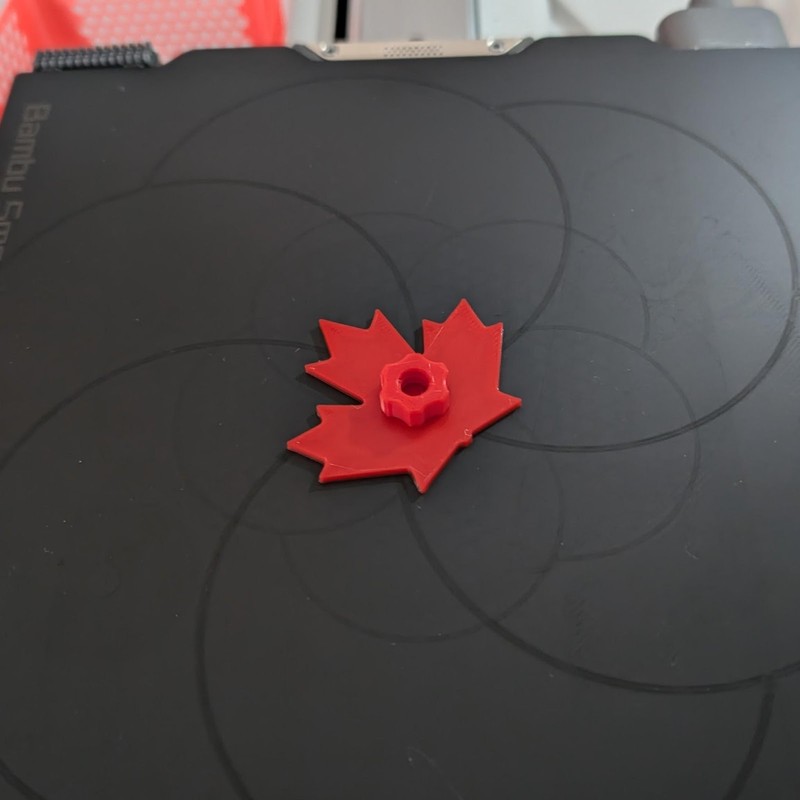
Canada cap
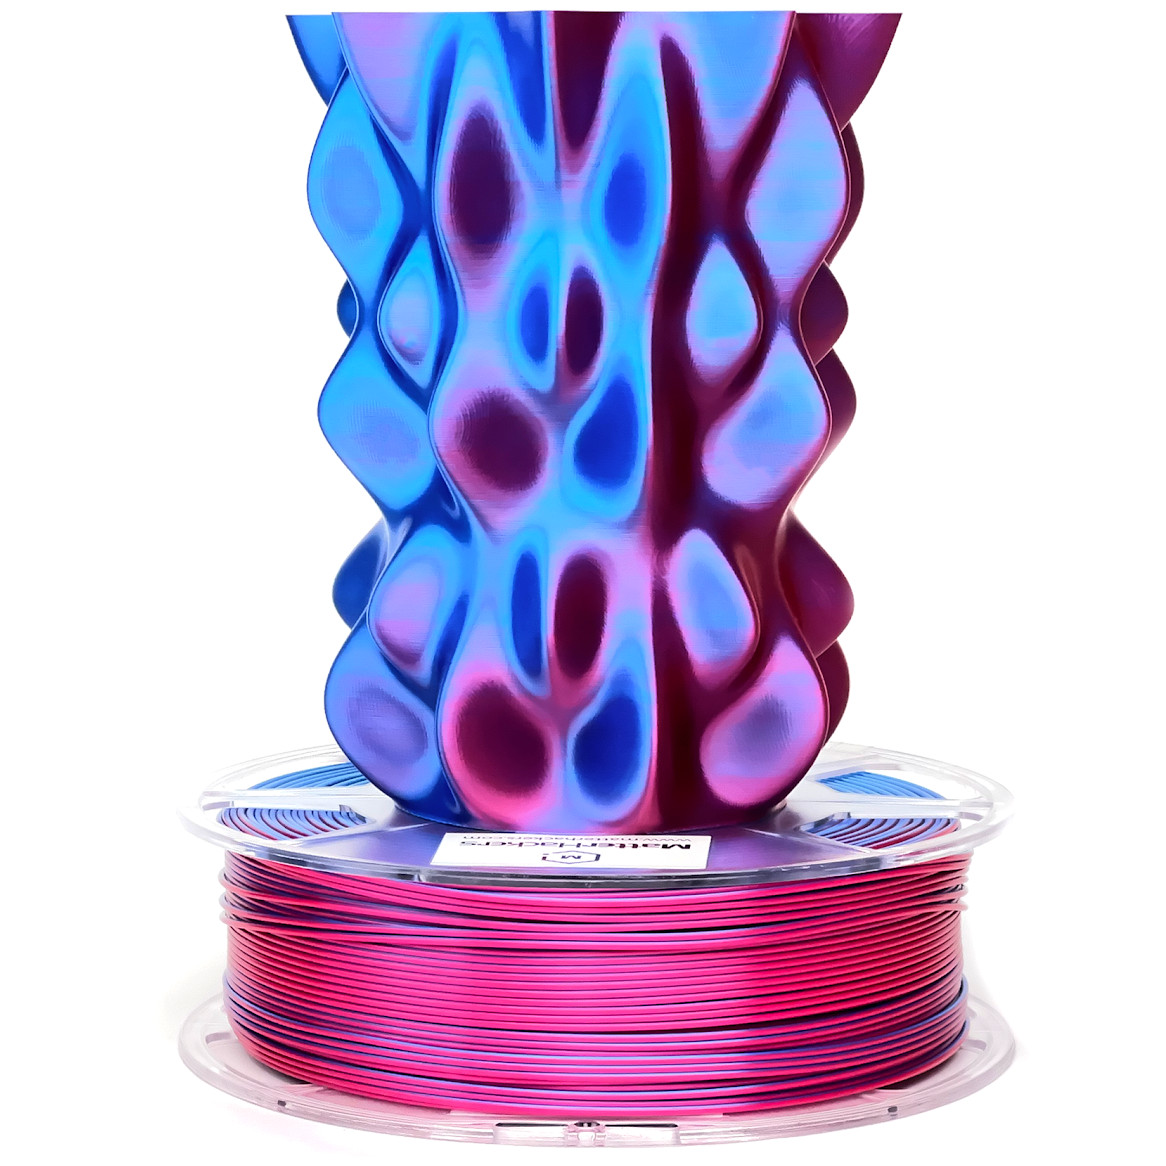
My wife loved it and wanted another, but something a little different. The same designer’s toroidal windmill was a nice variation, having a 3rd smaller spinning element and allowing me to show off my two dual color silk PLAs.
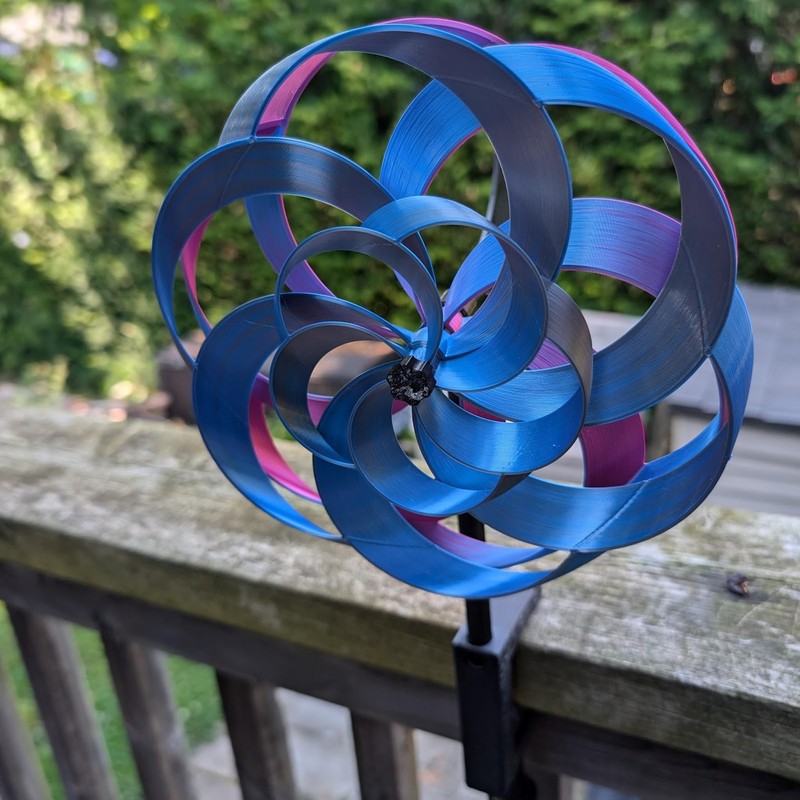
Recently, my mother-in-law’s neighbor’s baby was fascinated by the windmill so I printed one for them because of all they do for her, and to show off what 3D printing can do.
This was a lot of printing! It impressed everyone who saw them and I kept printing more and more. I’ve printed seven so far.
Read more from the An engineer gets artsy series
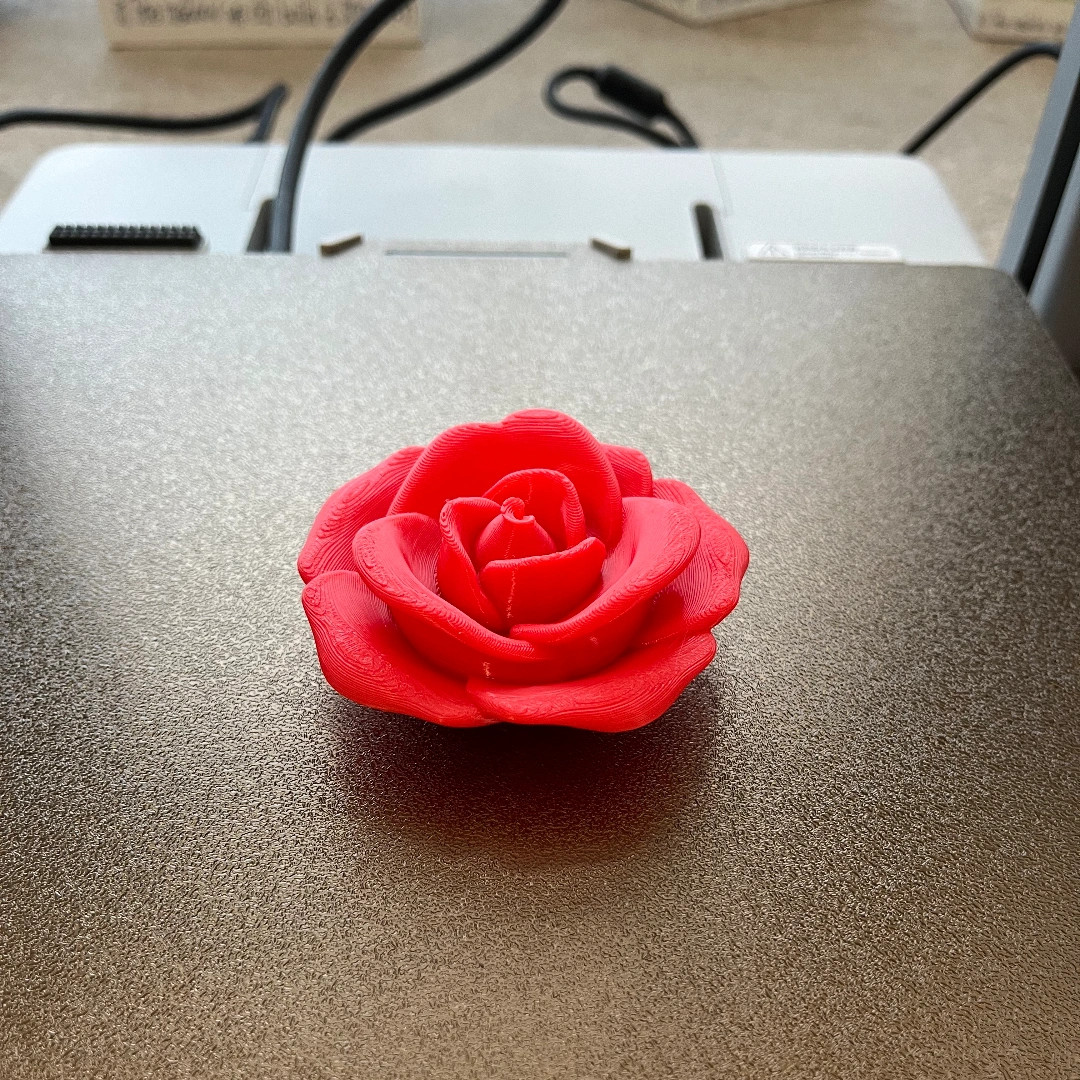
Stopping to Smell the (3D Printed) Roses
June 15, 2024
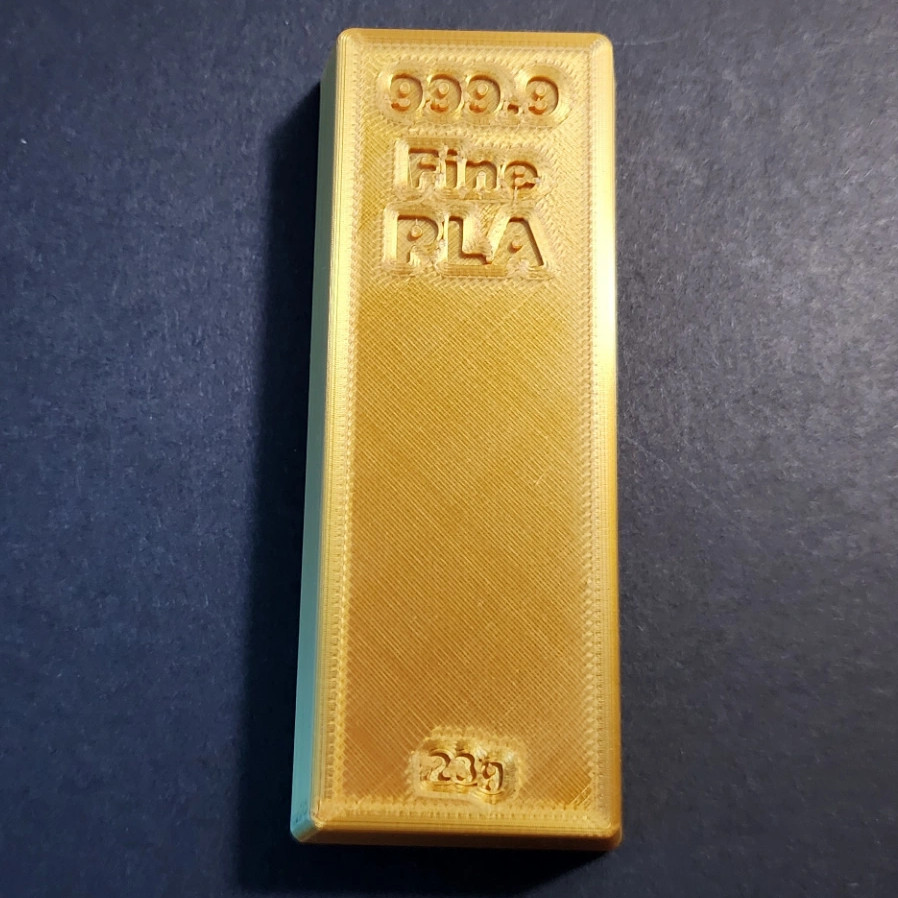
Using a 3D Printer to Turn Straw PLA into Gold
June 25, 2024
June 30, 2024
