If you make a purchase using a shopping link on our site, we may earn a commission. Learn More
Hands On with the Bambu Lab AMS Lite

Published: 2024-03-11
The Bambu Lab Automatic Material System Lite, or AMS Lite, is an add-on which allows Bambu Lab A1 series 3D printers to use up to four filament spools during a print, enabling multi-color and multi-material 3D printing. It’s available for purchase from the Bambu Lab online store, and is also available bundled with the A1 series printers in the Bambu Lab A1 Combo and A1 Mini Combo. In this article, we’ll take a deep dive into using the Bambu AMS Lite, from setup to final use.
Assembly
The AMS Lite comes in a large box, but not as large as the A1 mini box. The box is quite light for its size.
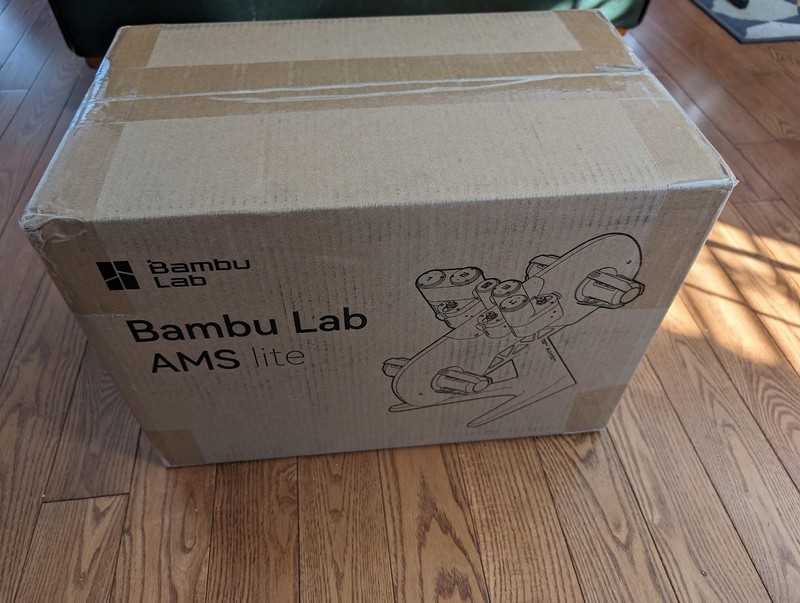
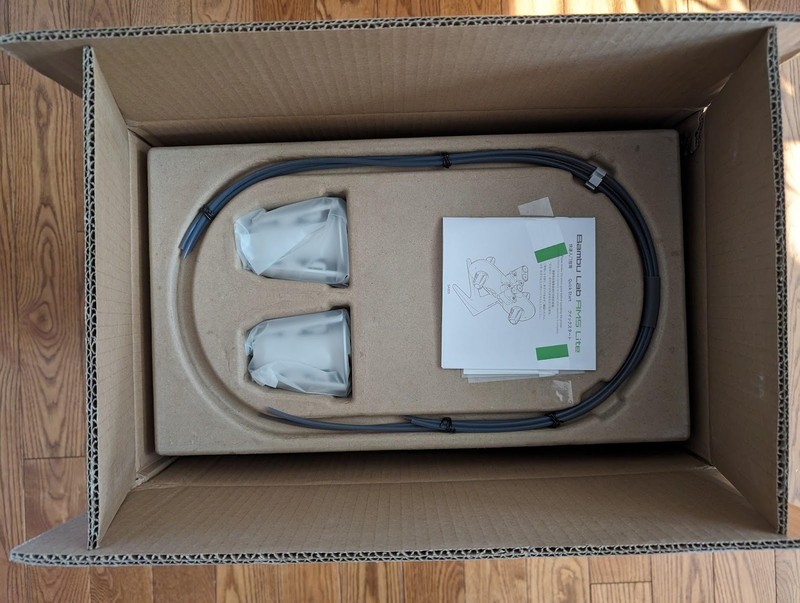
The box
- AMS lite body
- Stand
- 2 rotary spool holders (with another 2 preinstalled)
- 4 PTFE tubes
- 5 BT3-6 screws
- H2 Allen key
The assembly process is quick, only taking about 5 minutes.
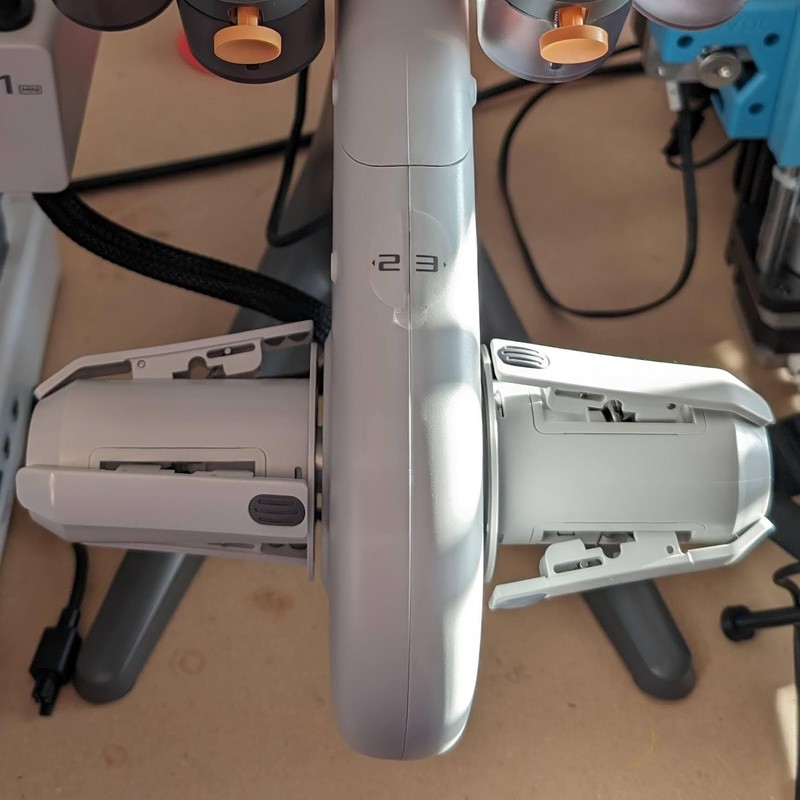
- Secure the body to the stand using the screws. Cut the cable tie securing the feeder units.
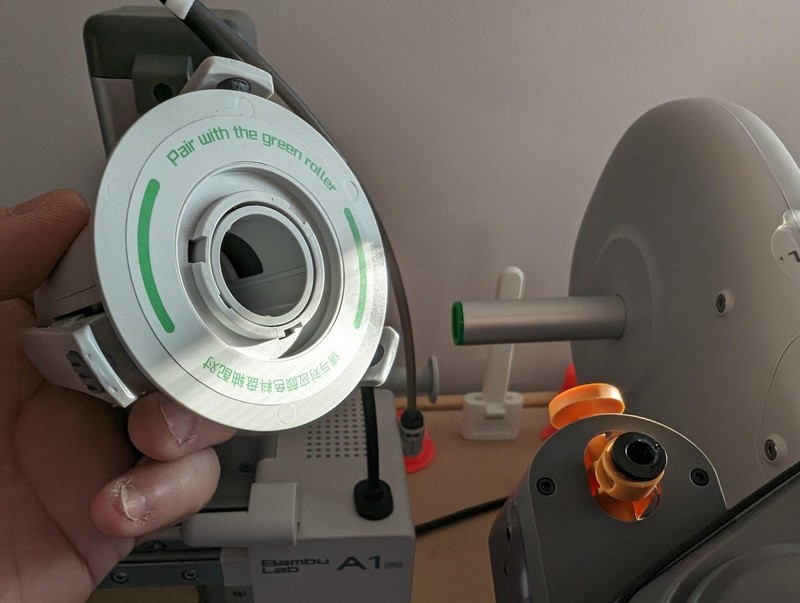
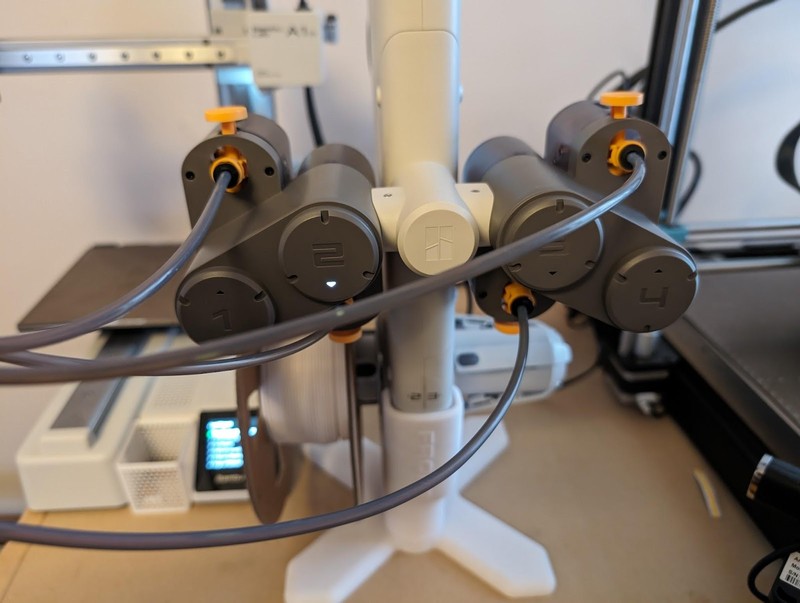
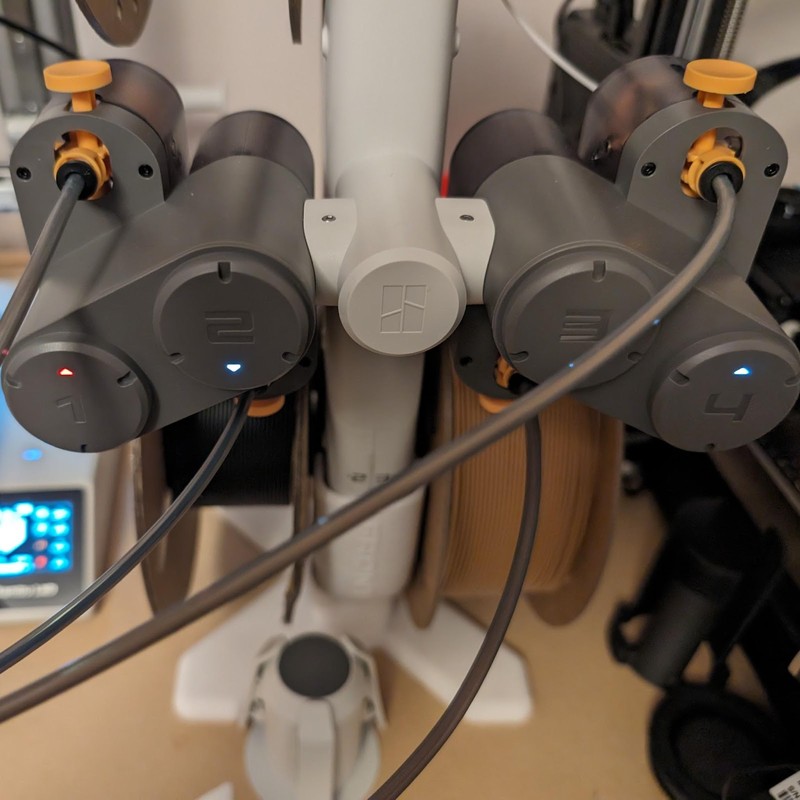
- Push the rotary spool holders onto their shafts. The holders are directional, designed to roll freely one way and auto rotate 150 degrees the other. Two shafts are tipped with green and two are tipped orange. The holders are marked in these colors on the inside and should be matched to their designated shaft. They won’t fit otherwise, because the internal clips will only fit on the matching shaft.
- Insert the PTFE tubes into the ports on the AMS lite.
- Insert the PTFE tubes into the AMS hub on the printer. This will require the removal of the external spool PTFE tube if it has been previously installed.
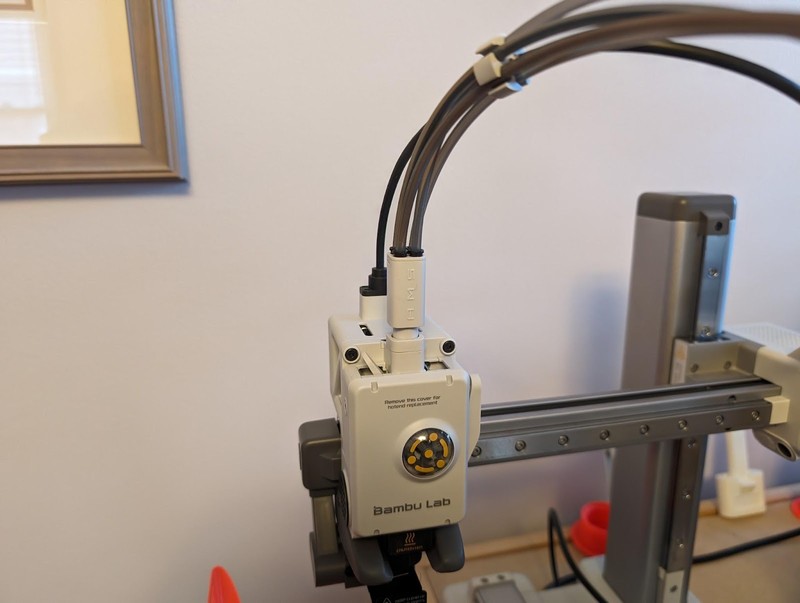
- Clip the extruder cable to the PTFE tube bundle clip.
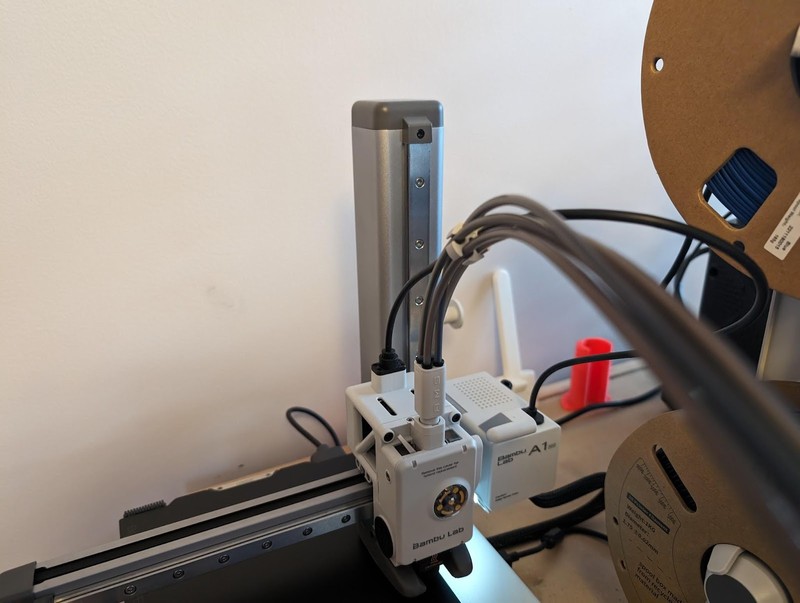
Extruder cable clipped to PTFE bundle clip
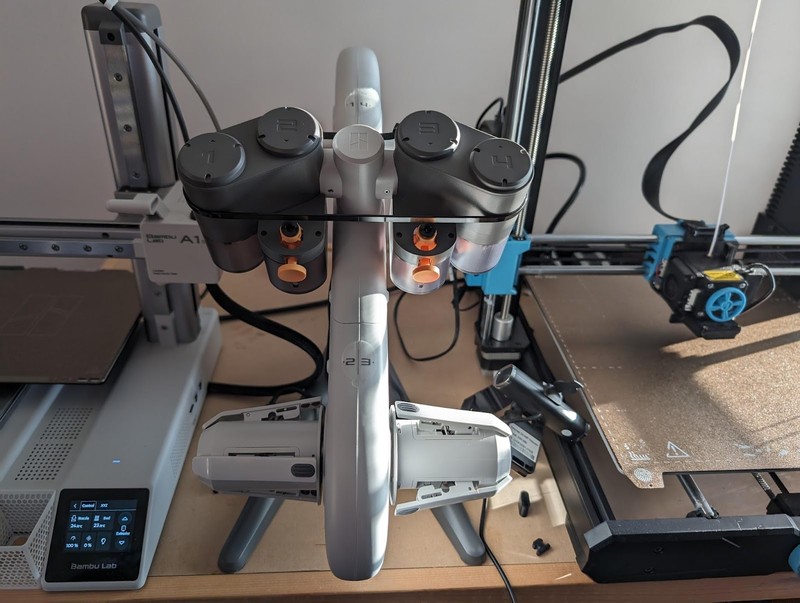
First Impressions
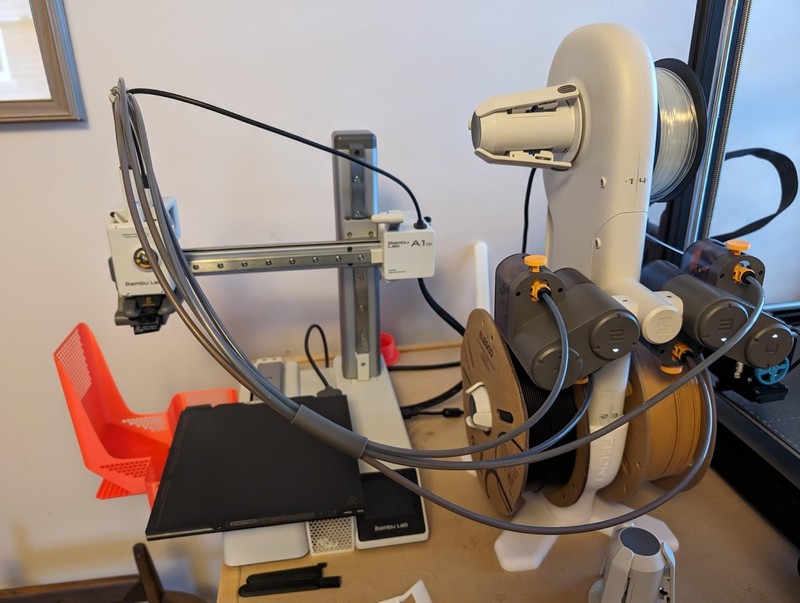
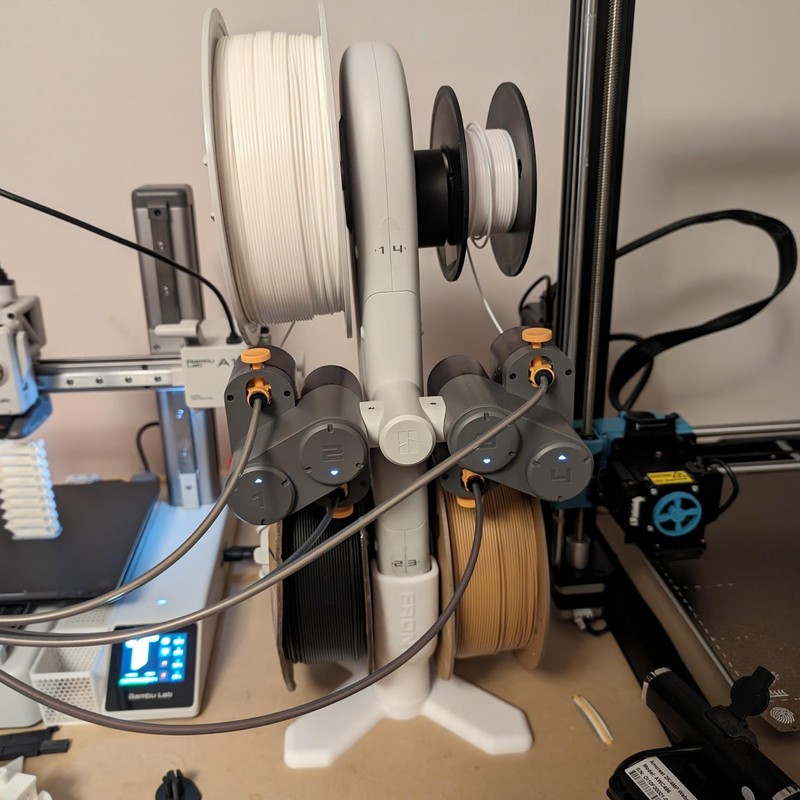
The AMS lite is BIG, particularly loaded with 4 full size spools of filament. It requires a lot of desk space and the combination of A1 mini + AMS lite turns a small printer into a very large printer - with the A1, even larger. We struggled to fit it on our already large table with a Sovol SV06 Plus.

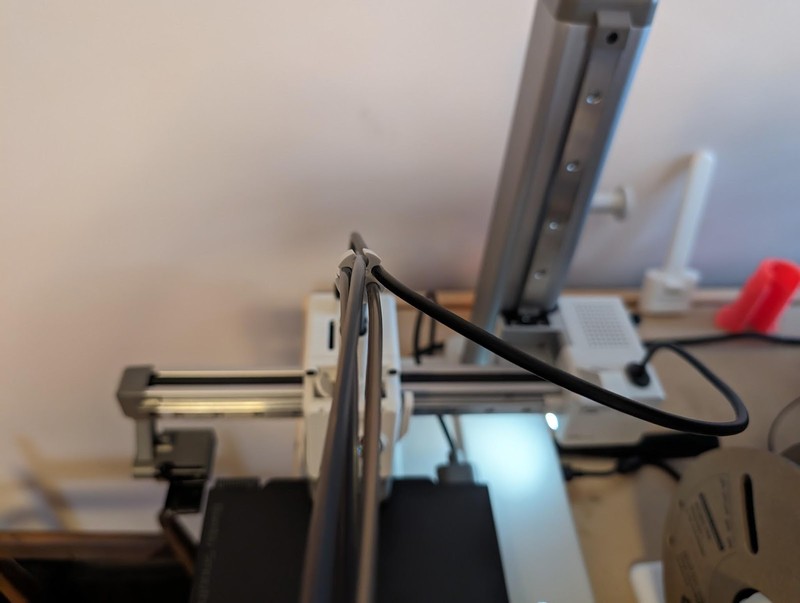
Fortunately many alternative mounts exist, from wall mounts to top mounts to vertical stands. We strongly considered mounting it on top of the extruder arm upright but were somewhat skeptical of putting that much weight on top of the extruder arm. There were also comments that it bent the PTFE tubes back too much. Instead we printed a low vertical stand which lifts the rear/top spools out of the way and allows the unit to sit beside and ahead of the printer, with the PTFE tubes gradually bent backward, still having adequate slack.
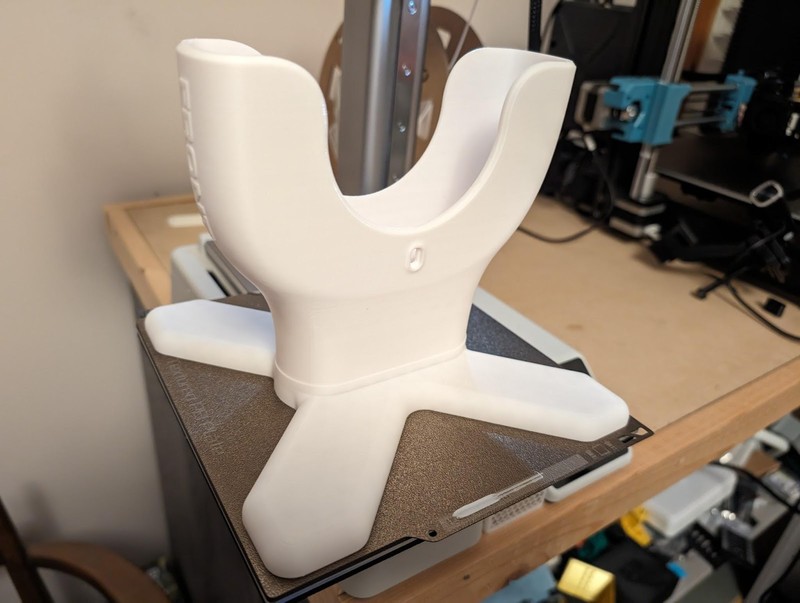
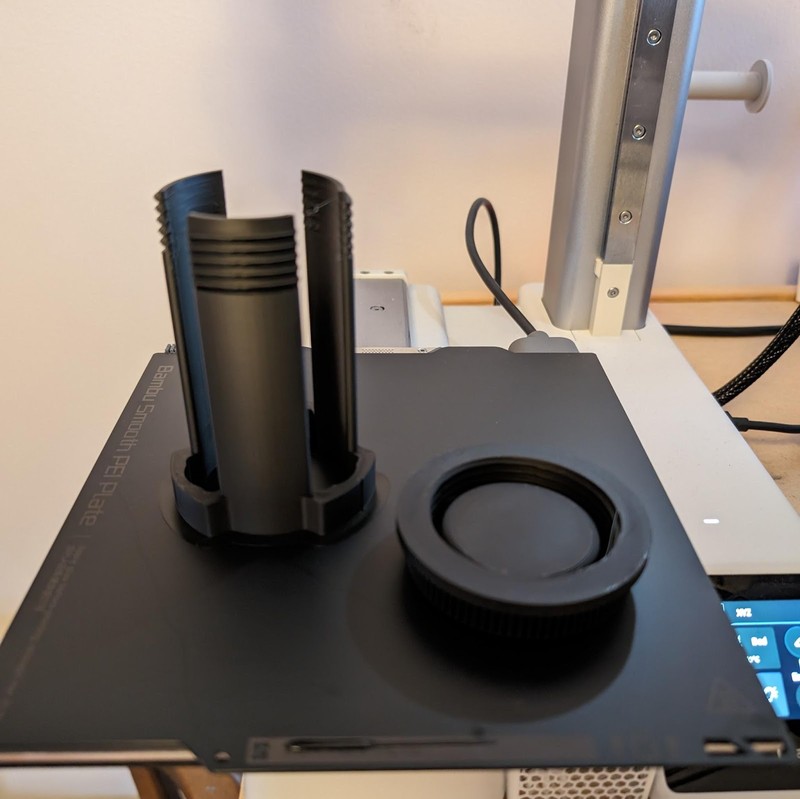
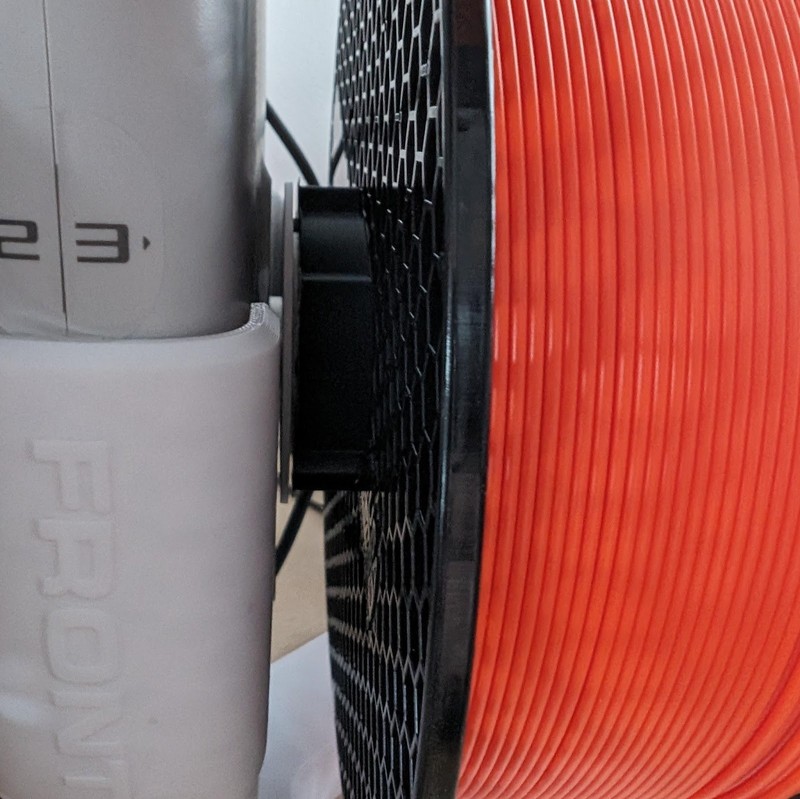
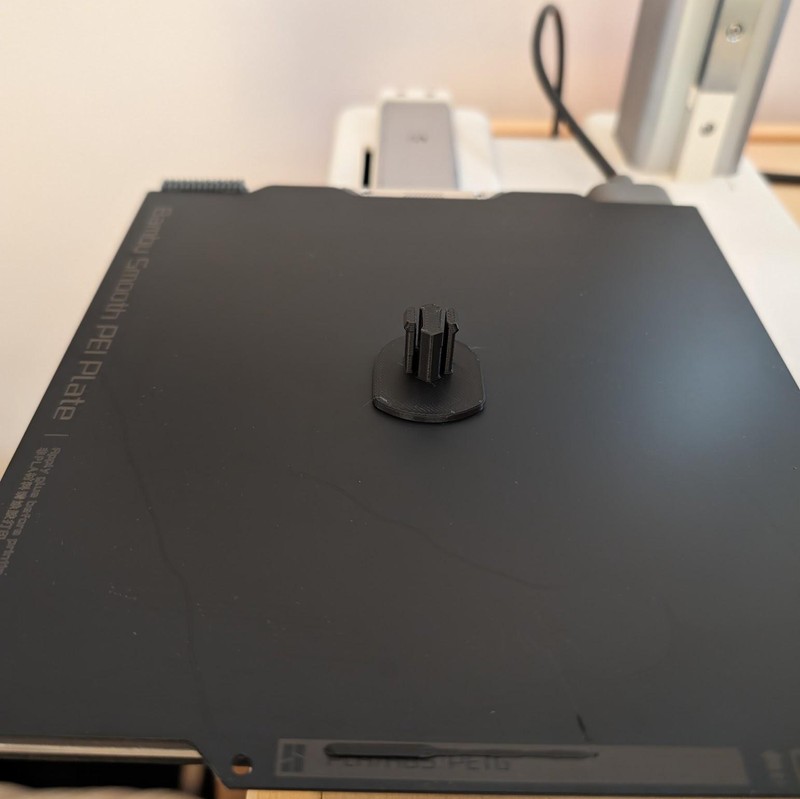
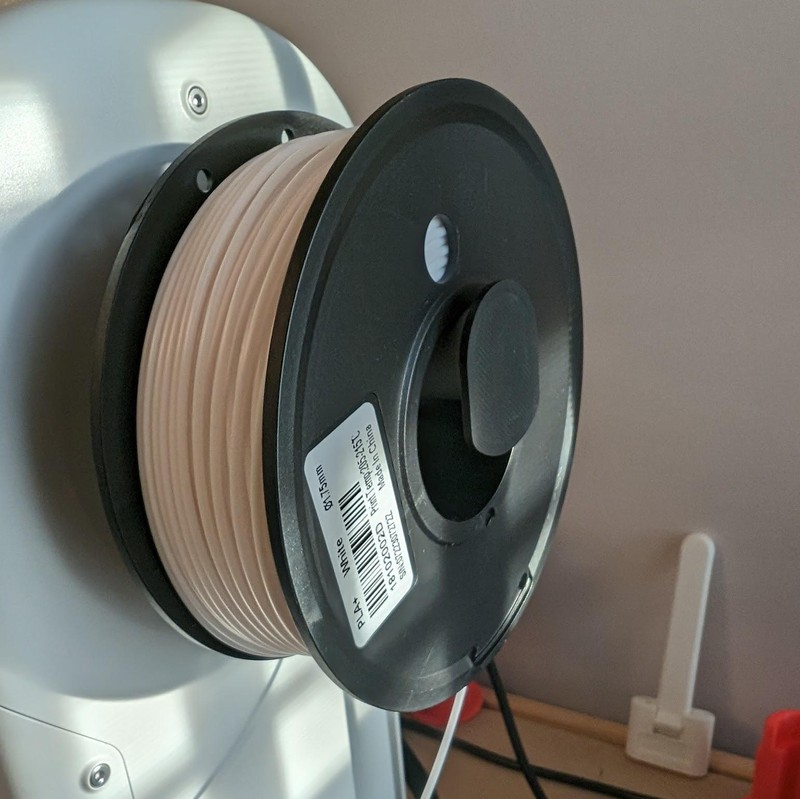
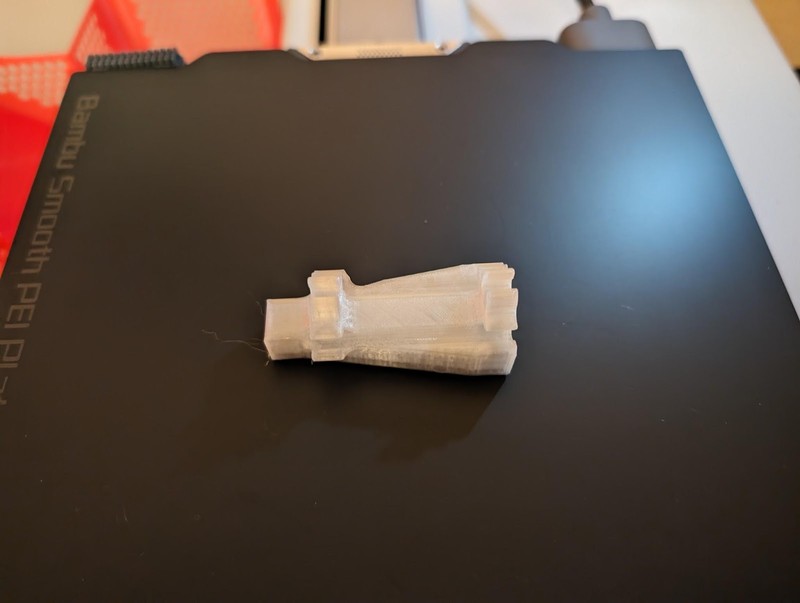
The spool holders work very well and hold spools very securely, but they are only compatible with spools 40-68mm wide with an inner diameter of 53-58mm. This excludes spools from Prusa, SUNLU, Geeetech, JAYO plastic spools, Giantarm, Anycubic, Creality, as well as smaller 200/250g spools. Fortunately there are adapters you can print, we printed a Prusament adapter and a SUNLU adapter as well as a cap for the smaller spools where you remove the spool holder, slide on the small spool and clip on the cap to the end of the shaft to prevent the spool falling off.
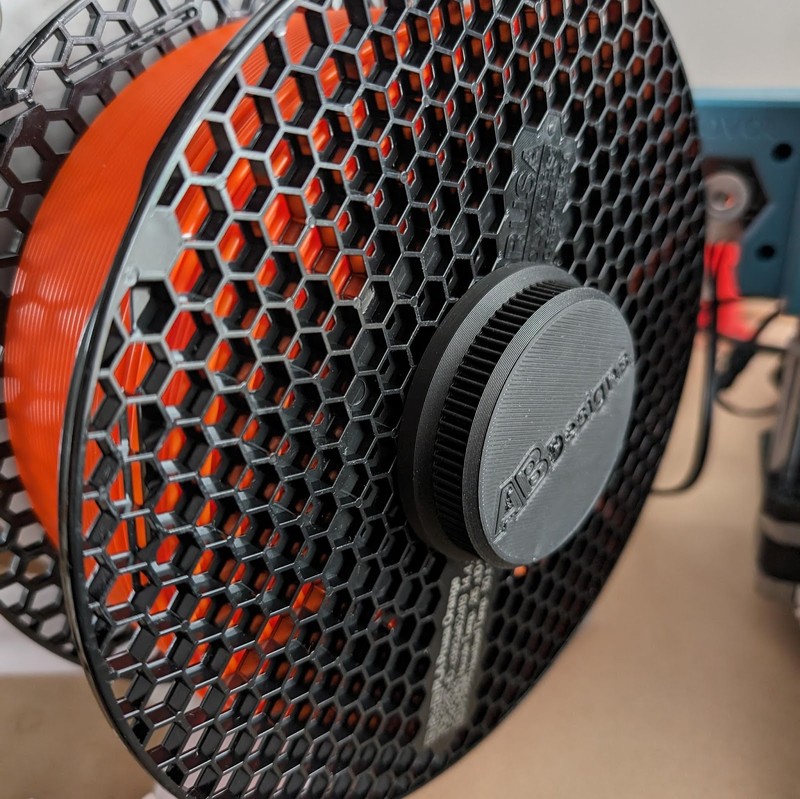
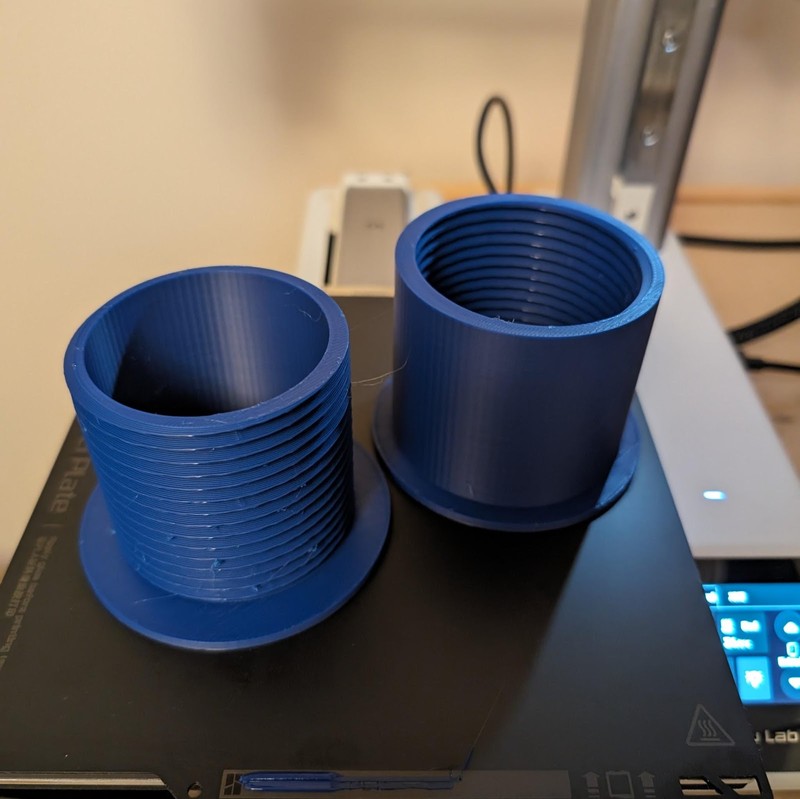
Prusament adapter
The AMS lite’s drive gears are not hardened steel, and Bambu Lab warns not to use abrasive filaments like carbon fiber or glass fiber infused filaments. This would include wood infused and glow-in-the-dark filaments, which are also abrasive. Interestingly the AMS lite FAQ says “CF and GF filaments with improved durability and relatively smoother surfaces, such as Bambu PLA-CF and Bambu PETG-CF, are compatible with AMS lite.” They also warn not to print flexible TPU, TPE or absorbent PVA. These would probably tangle around the drive gear or jam in the long PTFE tubes. The A1 and A1 mini can print all these filaments but they must be printed from the external spool.
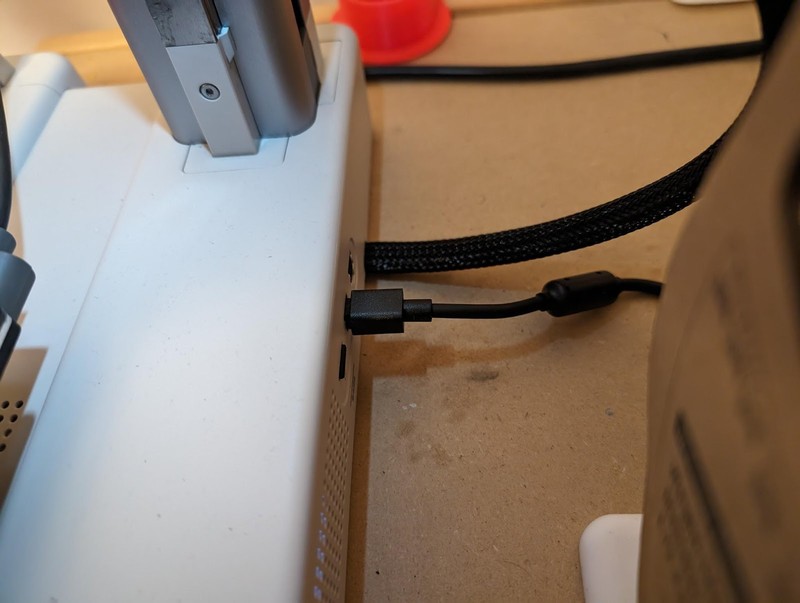
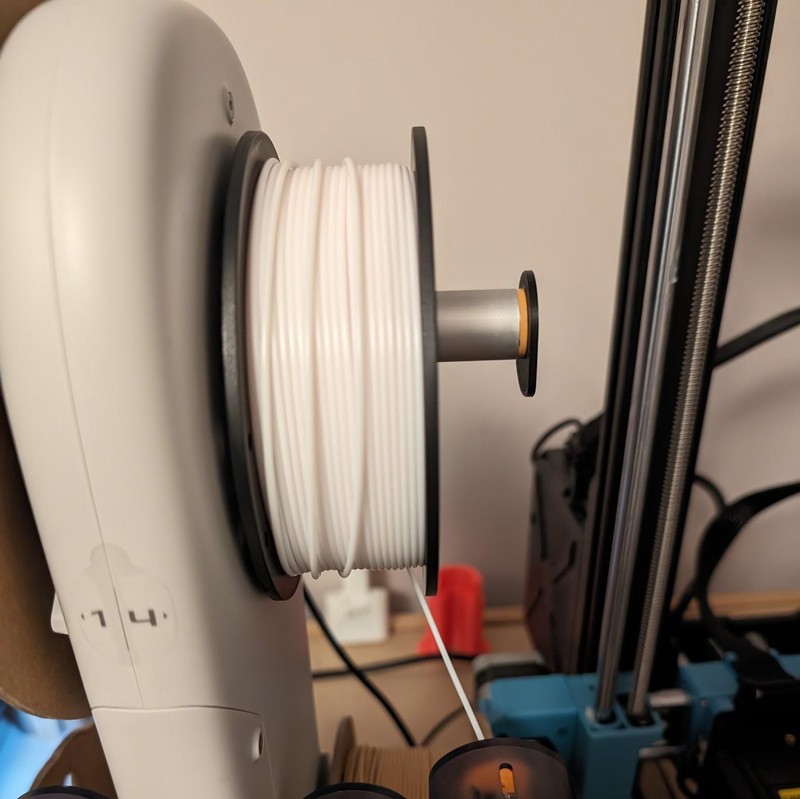
The A1 printers have an external spool mount built into the printer and a PTFE tube leading to the 4-port AMS hub which feeds the extruder. This must be disconnected from the AMS hub when you connect the AMS lite. To reconnect the external spool PTFE tube, one of the AMS lite tubes must be disconnected and it may be a pain to switch back and forth when you need to use the external spool for abrasive filaments or TPU which the AMS lite cannot handle. But users have designed a splitter which mounts to the AMS hub and another splitter which attaches to the AMS lite port in order to permanently attach the external spool’s PTFE tube while still keeping all 4 AMS lite tubes connected.
The AMS lite motors are noisy but effective. The AMS hub is spring loaded - if a filament jams or tangles in one of the tubes, the extruder will pull on the filament so hard the tension will compress the spring and pull the AMS hub down, triggering a sensor. The loaded filament LED on the AMS lite will then flash red and the jam must be cleared. Also, the motors have speed sensors and the filament spins an odometer. These two sensors work together to detect filament slippage - a difference between the motor speed sensor and the odometer. Finally, each port has a filament sensor - if the current filament runs out, the LED flashes red. If filament backup is enabled, the AMS lite will start feeding replacement filament of the same color and properties once the extruder detects a filament runout. Otherwise, the printer will prompt you to replace the filament in order to resume the print.
The spool holders rotate forward freely but only rotate backward by 150 degrees. This is all mechanical, powered by a spring inside the spool holder. It keeps the tension on the filament as it is retracted.
Filament Loading
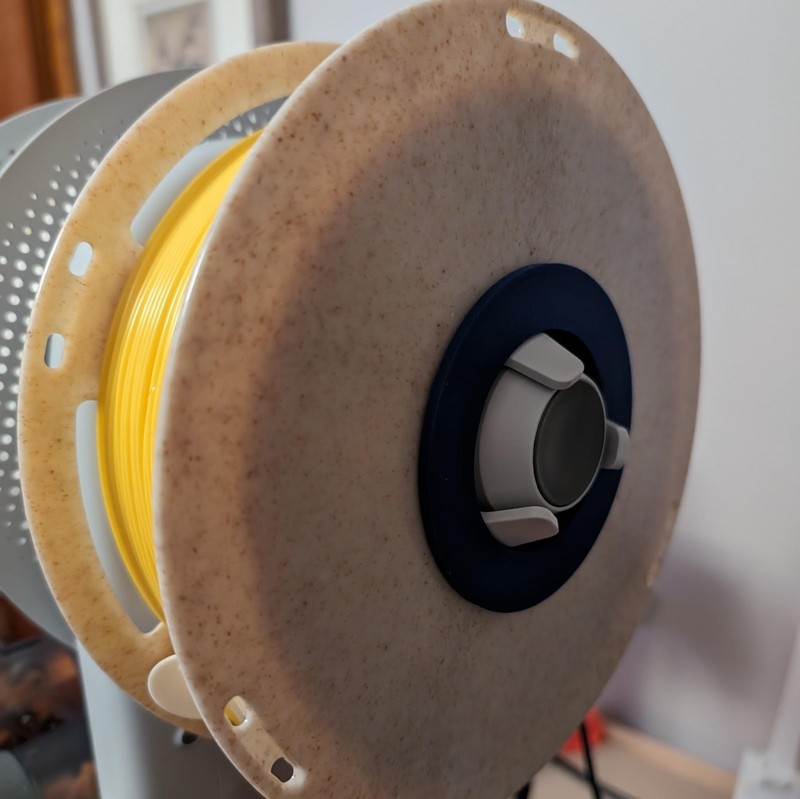
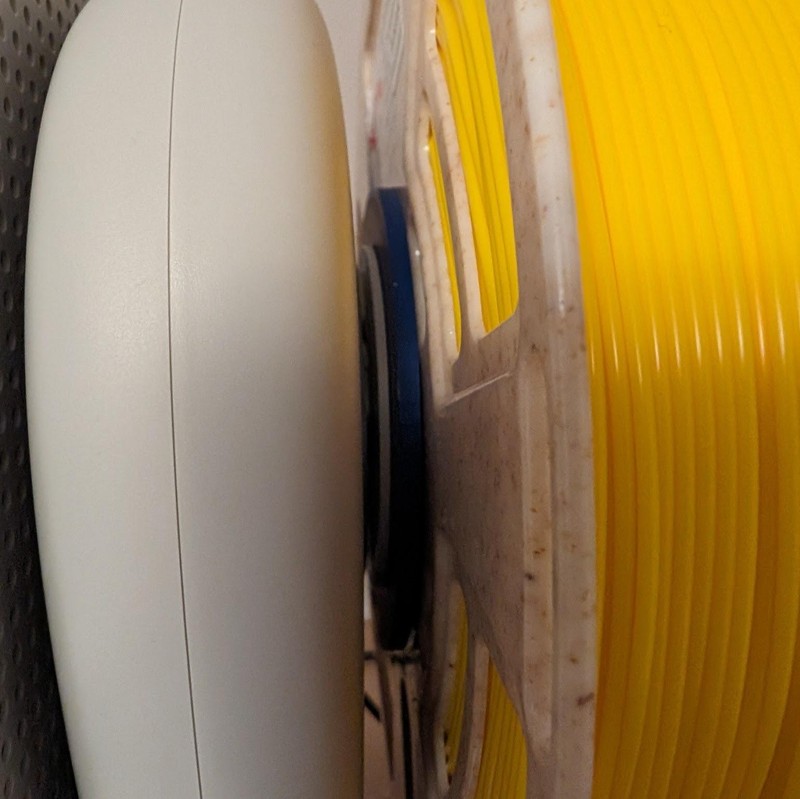
Push a filament spool onto a spool holder. This may require a bit of force. The spool holders are cleverly designed with 3 “spool claws” that flex inward as the spool is pushed onto it. At the far edge of the spool holder, there are rubber pads which grip the inner edge of the spool.
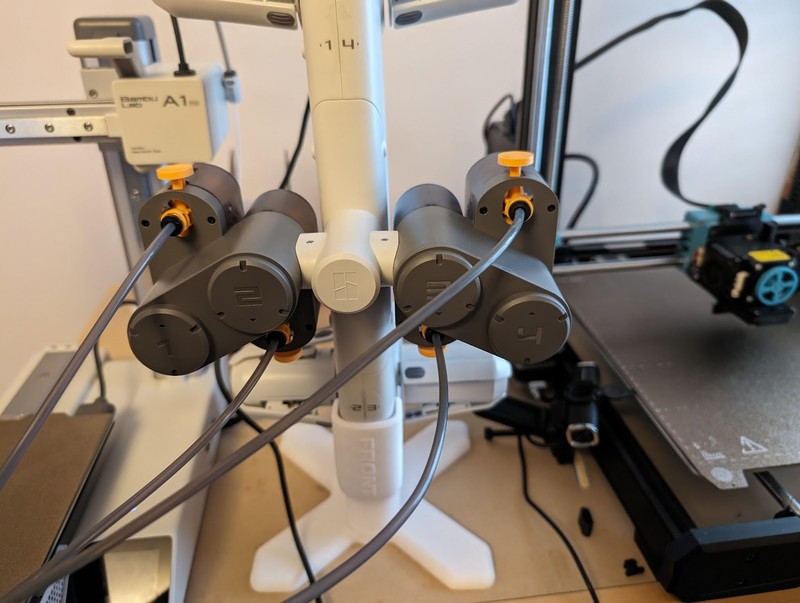
Feed the filament end into each port. The rolls on the top of the AMS lite are fed from the top of the spool, back and down (overhand) and the spools on the bottom are fed from the underside of the spool, back and up (underhand). The port is inside a spring-loaded assembly that pushes the filament onto a motorized drive gear. Once the filament detector for this port is triggered, the motor pulls the filament 40mm up the tube. We found that we always needed to disengage the gear by pulling on the spring in order to get the filament past the drive gear - from there, the motor took over.
The filament detector triggers an LED in the shape of an arrow pointing to the spool, turning it white and indicating that it is loaded.
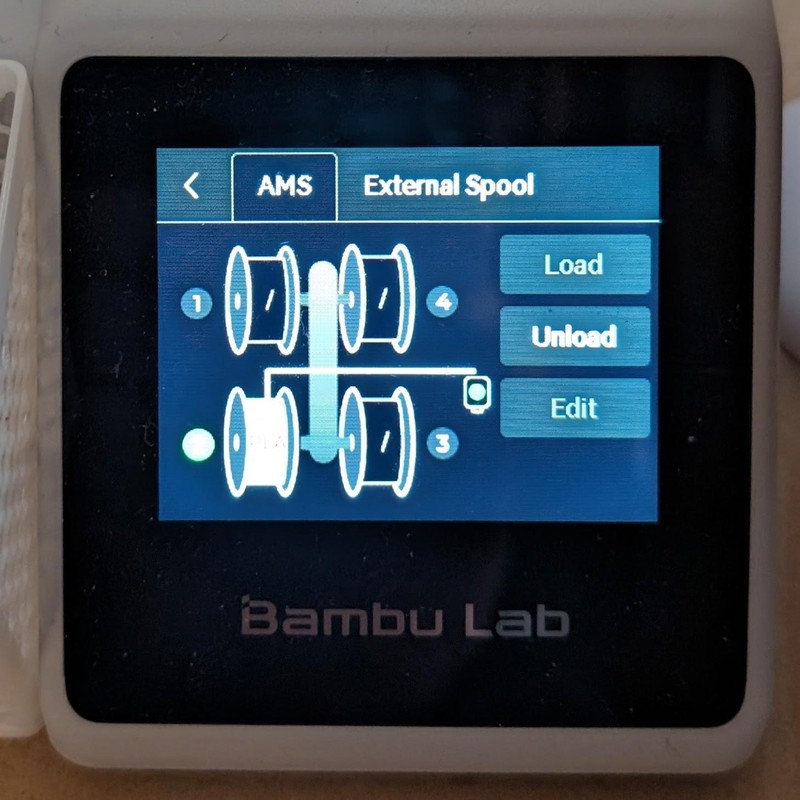
On the display, select “Filament”, then “AMS”. Loaded filament spools - those activating the filament detector for that port - will have their numbers highlighted. Press on any spool and the highlight turns green. You can then edit the spool, indicating what brand and type it is as well as setting its color. If you press “Load” from the main filament page and filament is detected at the extruder, the extruder heats up the nozzle, advances a little and moves to the right, triggering the filament cutter and cutting the filament. If one of the AMS lite odometers indicated that its filament was being pulled when the extruder advanced, it will pull its filament back until the extruder filament detector clears. If none of the AMS lite odometers indicated that its filament was being pulled, the printer assumes the external spool was loaded. The extruder then moves to the left over the purge wiper and if the external spool was loaded, the printer prompts the user to pull back the filament until the extruder filament detector clears. Then the AMS lite motor pushes the filament the user wants to load until it triggers the extruder’s filament detector and the extruder advances. The extruder then takes over, using the new filament to push any previous filament out of the hot end and pulling more filament in until it gets a consistent flow. This ensures the nozzle is purged of any previous filament and that the new filament has started.
The AMS lite port LED now pulses white, indicating which filament is loaded.
Printing
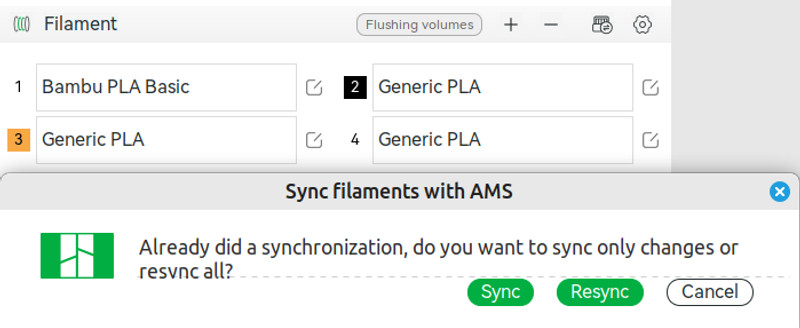
If you slice a file in Bambu Studio or OrcaSlicer, you can assign up to 4 filaments to it. These filaments can be synced from the AMS lite or you can map the filaments to any filament loaded on the AMS lite just before the print.
Right-click on an object and choose one of the 4 filaments.
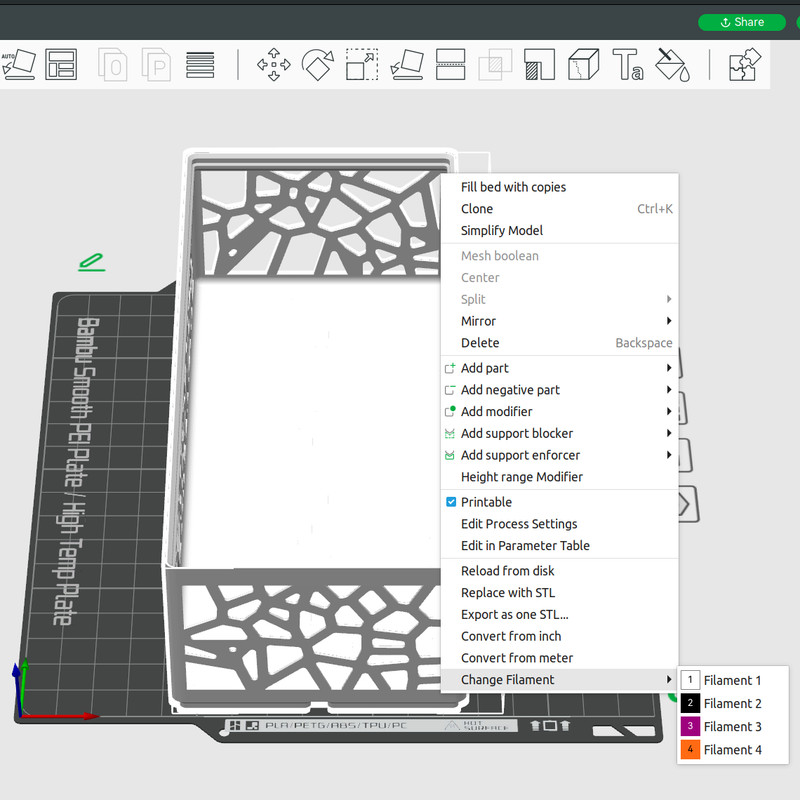
You can also break the object into pieces and assign each piece its own color, or “paint” a color onto parts of the object - either areas of the object or all layers by Z height.
If there are filament changes in the print, the slicer will automatically make a prime tower when you slice. A prime tower is a support part printed away from the desired part where each layer either primes the nozzle when the filament is changed or acts as support for future filament changes. The tower is only as tall as the last filament change but needs to be built up to exactly this layer so this material has something to adhere to.
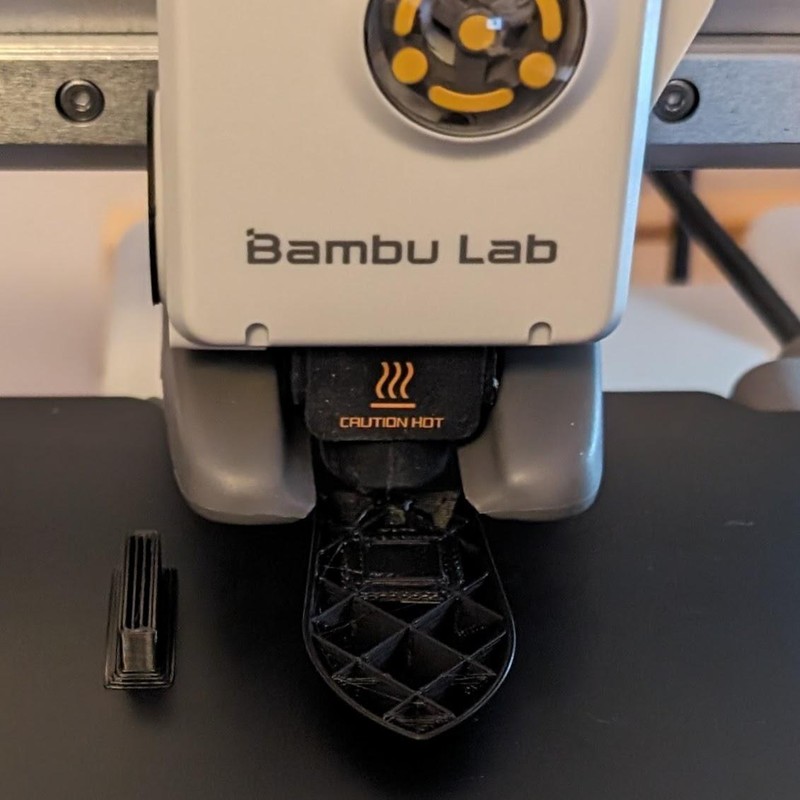
The nozzle is purged before the print starts, with the AMS lite loading the first filament in order to push old filament out the nozzle. The print then proceeds as normal. At the first color transition, the extruder retracts, rises to clear the print and moves to the right, triggering the filament cutter. The filament is cut, the AMS lite motor pulls the filament back and the extruder moves back to the purge tray. The old filament is purged using the new filament like it was at the beginning of the print. This purge volume varies by filament type and can be set in the slicer. The extruder then moves back to the prime tower, printing a layer in order to prime the nozzle - otherwise there may be gaps in the printed part. The printer then proceeds to print the new filament on top of the old. At the last color transition, only one layer of the last filament is printed on top of the prime tower.
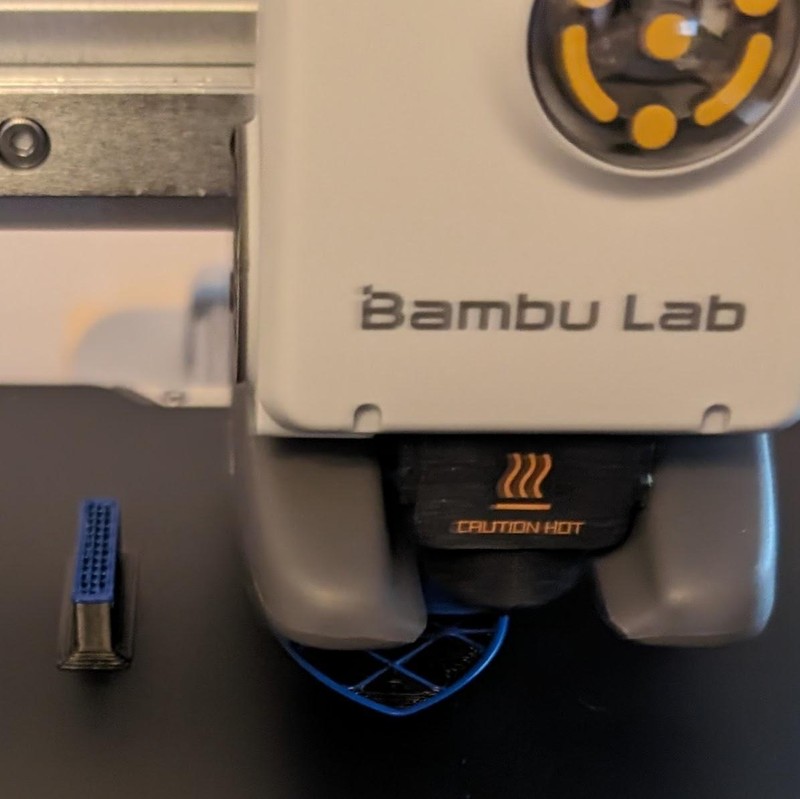
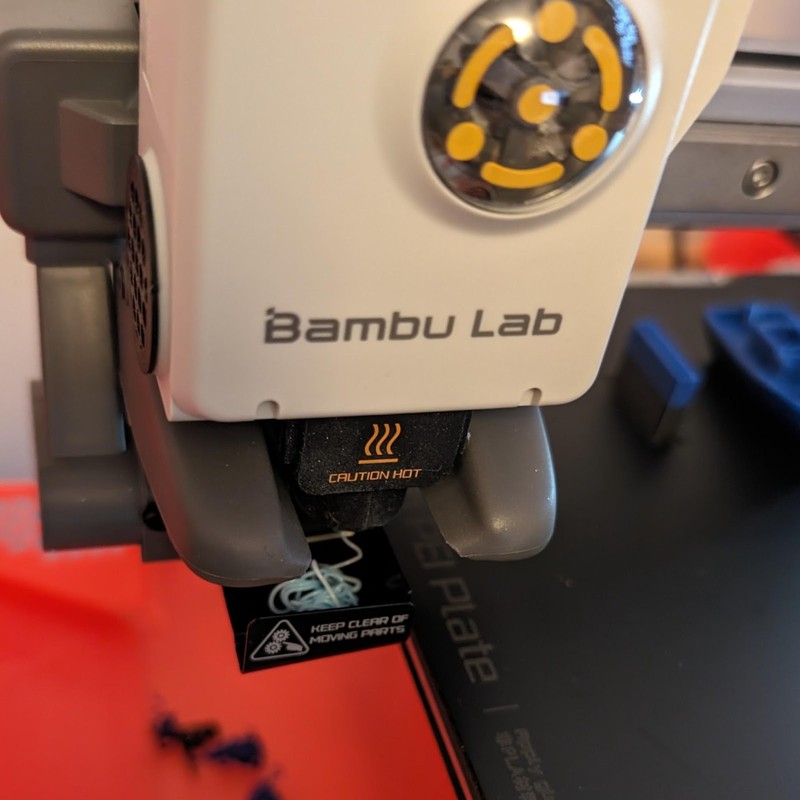
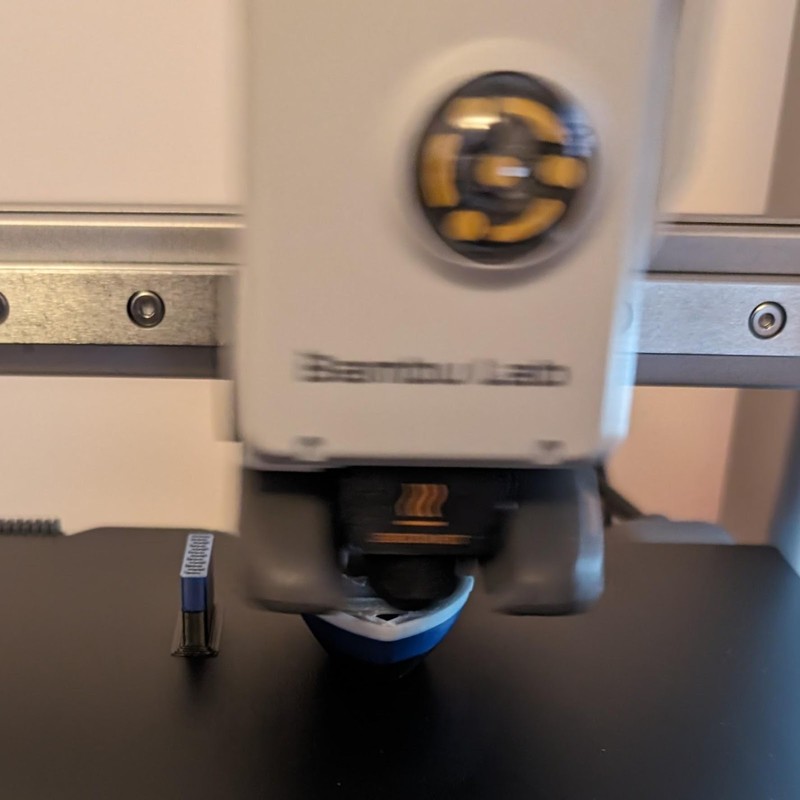

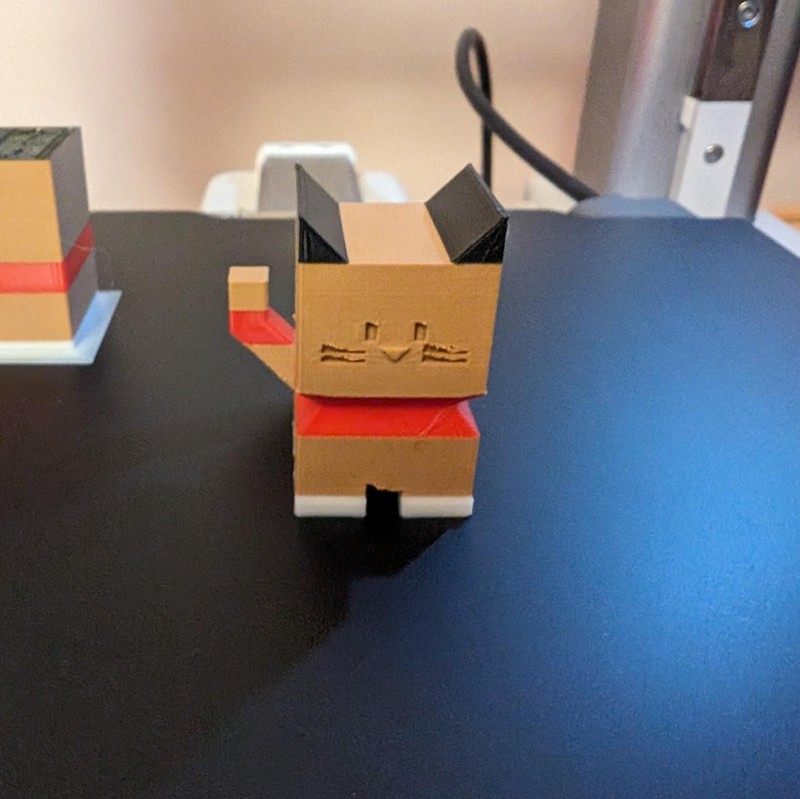
3 color Benchy
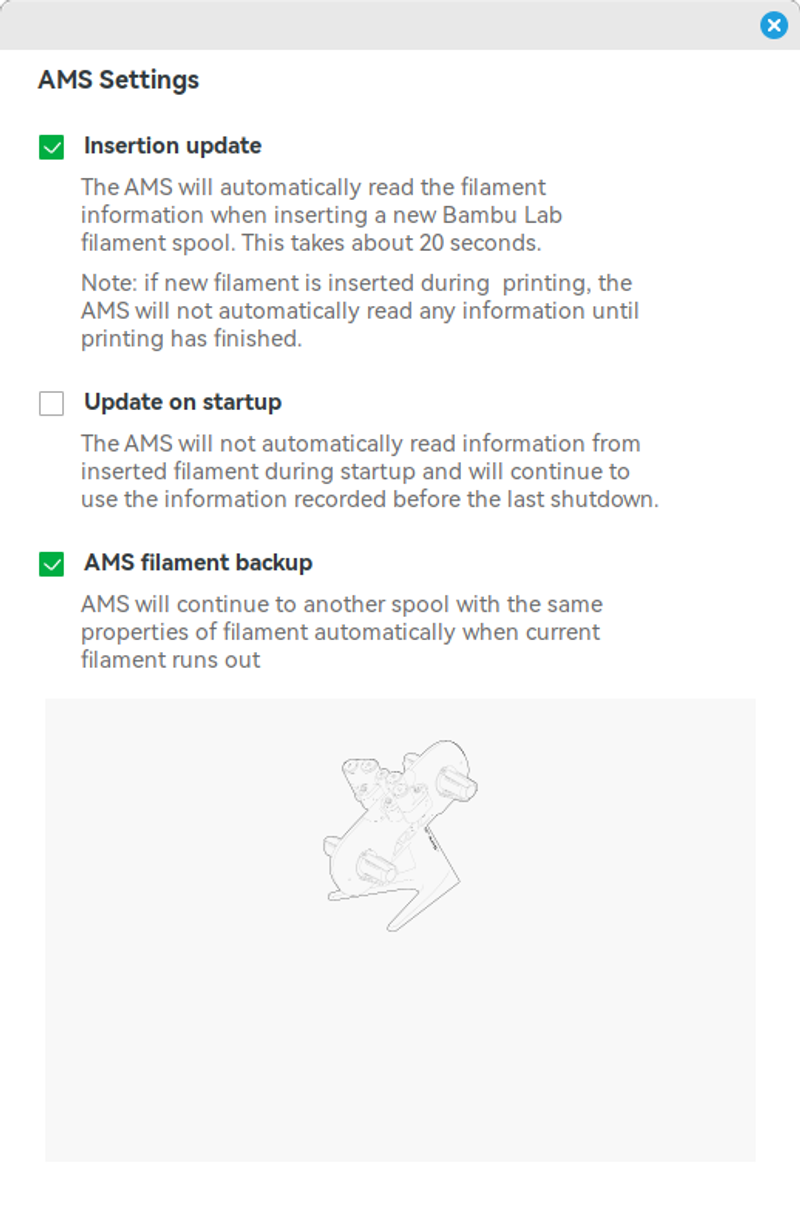
The AMS lite has a filament backup feature which is especially useful for using up nearly empty spools while still making perfect prints. Simply load a replacement filament onto one of the spool holders. Edit it in the display to have the same color and properties as the nearly empty filament. When the filament runs out, the AMS lite filament LED will flash red but the extruder will keep printing until its filament sensor detects a run out. The AMS lite will then feed the replacement filament as if it were doing a filament change, with the extruder purging the last of the old filament and starting the new filament. The print then resumes.
At the end of every print with the AMS lite, the extruder moves over to the right, cutting the filament. The loaded filament is then pulled back by the AMS lite motor past the extruder filament detector and out of the AMS hub. This means that at the start of the next print, no filament is loaded but they are all close to the extruder and ready.
The filaments loaded into the AMS lite are set in the touchscreen’s Filament - AMS page. The colors, types and manufacturers can be set here. Bambu Lab spools have an RFID chip embedded which the AMS lite will read and set automatically. Bambu Studio and OrcaSlicer pull this information in.
Note the external spool can still be loaded and edited through the printer’s settings and when the slicer syncs to the printer/AMS lite it will show a 5th filament. Unfortunately the AMS lite’s PTFE tubes need to be disconnected and the external filament spool’s PTFE tube needs to be reconnected in order to use the external spool, or you can use a splitter as we’ve shown earlier.
Should You Get One?
Definitely! It will completely revolutionize your experience with an A1 mini or A1 printer - if you can find the width on your table for the giant combination, that is.
With an AMS lite, the A1 or A1 mini printers offer something no other manufacturer can at this price point.
It’s easy to assemble, it performs very well, it integrates well with the printer, Bambu Studio and OrcaSlicer. It’s simple and easy to understand yet opens up so many possibilities. Bambu Lab learned from the original AMS and this second-generation AMS lite offers greater compatibility with spools, including cardboard spools.
There are a few limitations - you can’t use abrasive or brittle filaments. So no carbon fiber, glass fiber, wood or glow-in-the-dark filaments (except Bambu Lab filaments). And you can’t use TPU. But this still isn’t a huge limitation when faced with the vast assortment of PLA and PETG filaments, and the external spool holder can still be used for other filaments.
The combination of printer and AMS lite is extremely wide but fortunately there are many alternative mounts to save space and offer choices. Your time would be well served either finding space for the AMS lite as supplied or looking at alternative mounts - vertical, wall or above the printer. It’s well worth it, because we believe you will love the AMS lite.