Raft and Brim

For an FMD printer to create a successful print, the first layer needs to be as flawless as possible as it is the only layer that keeps your print adhered to the print bed. The majority of print failures begin with the first layer, either due to poor adherence, warping of sharp edges, or not enough contact with the print surface. If you are attempting to print an object that keeps coming loose mid-print, then you may need to use a Brim or a Raft to keep your part stuck to the print bed.
What Are Brims and Rafts?
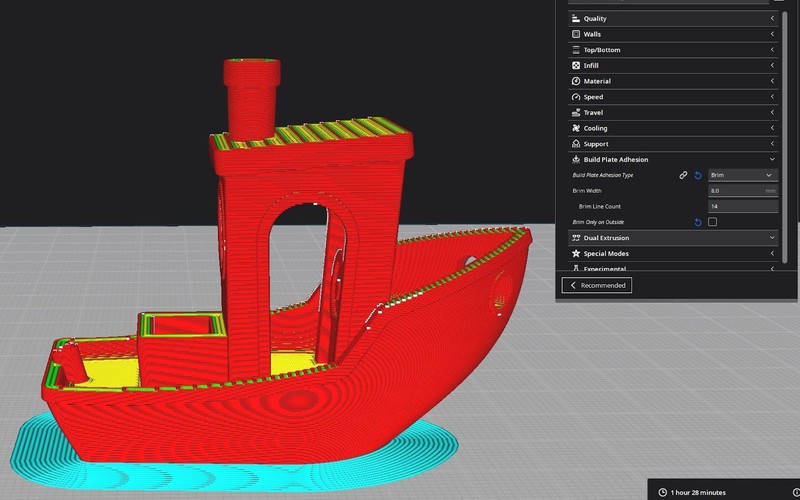
A Brim is an additional perimeter that is added to the first layer of your print. This extra perimeter gives your printed part a larger surface area to connect to your print bed, reducing the chances of your part coming loose, especially when dealing with sharp corners that tend to warp.

You can adjust the Width of the Brim as well as the number of Lines that make up the Brim. A wider Brim will provide additional adhesion at the cost of slightly more material used, and you’ll need to remove the brim once the print is complete. Increasing the amount of Lines used to create your Brim will override the Width setting, allowing you to choose exactly how many perimeters you want to add to your Brim. IA sharp hobby knife or a deburring tool is recommended for proper Brim removal.
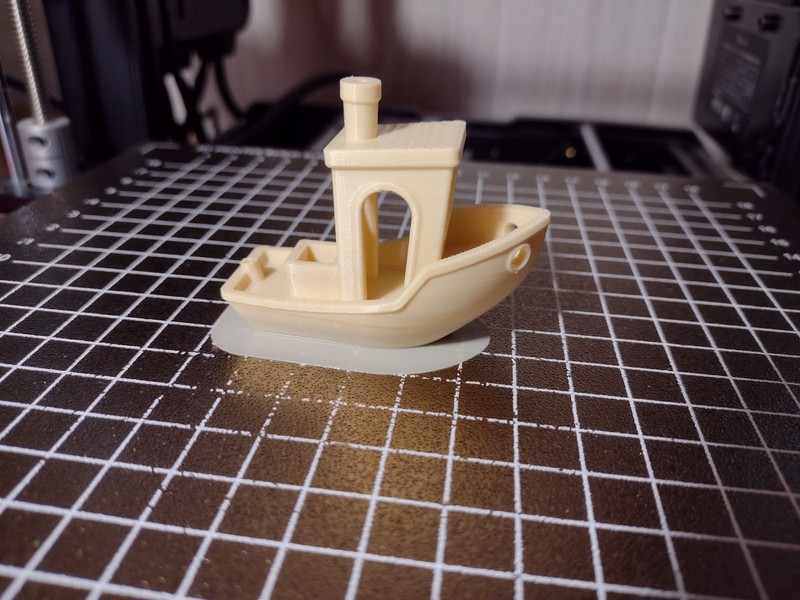
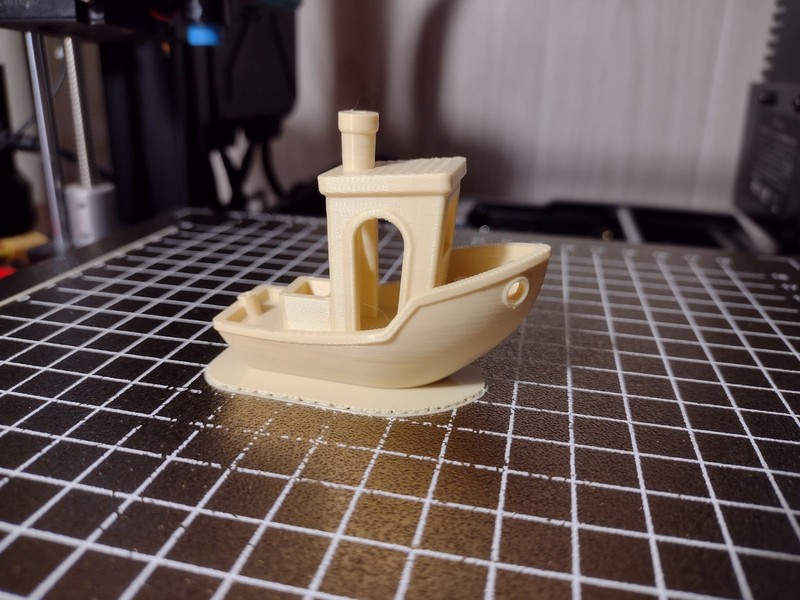
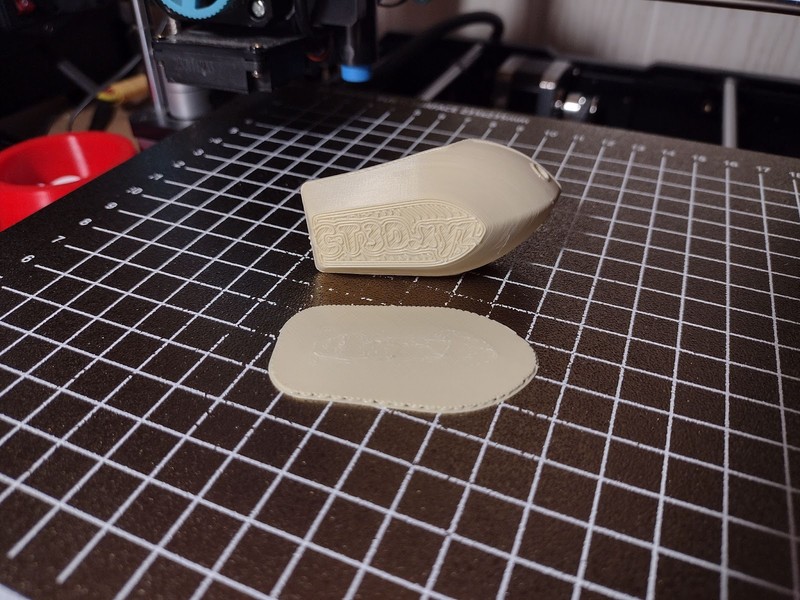
Rather than printing more perimeters around your part, a Raft is a small flat platform that is printed underneath your part, with your part then printed on top of the Raft. The Raft is a couple of layers tall and will extend slightly past the surface area of your part to provide excellent bed adhesion. This is great for parts that do not have a lot of contact with the build plate, as they are much more likely to stay stuck to a Raft. Because your printed part never touches your build plate, any inconsistencies found on your print surface will only affect your Raft, not your printed part.

You can adjust the Extra Margin of your Rafts to increase or decrease how far from your model your Raft extends. A larger Raft may provide extra adhesion though you typically do not need your Raft to extend very far from your print for it to work. The Raft Air Gap sets the distance from your Raft that your actual printed part is printed. This is required to keep your Raft from fusing to your printed part. The default value of 0.3 mm is plenty of space to keep your Raft and print separate. Adjust this value if you notice your prints coming loose from your Raft or if your Raft is too hard to remove from your printed part.
Should I Use a Brim or a Raft?
Before using these settings, ensure that you are using a modern build surface such as PEI to get the best possible adhesion, and ensure your bed is clean especially if you notice that it is not adhering as well as in the past.
If your model is especially challenging, you may still need to use these settings. If your model has a large flat surface that is sure to stick to the bed but has sharp corners that may warp, then a Brim is what you need. Brims are also better for objects that require dimensional accuracy, as Rafts tend to create inconsistencies near the bottom surface of your model. If you are concerned about print time and material usage, a Brim is your best bet.

A Raft should be used if your model does not have a good flat face that will stick to the print bed, or if it has many small sections on its base. Rafts are a good option for prints with corners that tend to warp. Since your model is printed slightly above the Raft, you may run into inconsistencies with dimensional accuracy in your prints. If you are printing a model that needs exact measurements, a Raft may not be the best option. Rafts will add a significant amount of time to your print jobs, making them a last resort for most print jobs. For materials that are known for their poor bed adhesion, such as ABS and ASA, a Raft is practically mandatory.

