Temperature

One of the most important settings to dial in on your FDM 3D printer is temperature, as this will have a major impact on many aspects of your printer, including bed adhesion, layer adhesion, and print quality. Tuning the nozzle and print bed temperatures is a fairly easy process. Let’s start with the nozzle.
Nozzle Temperature
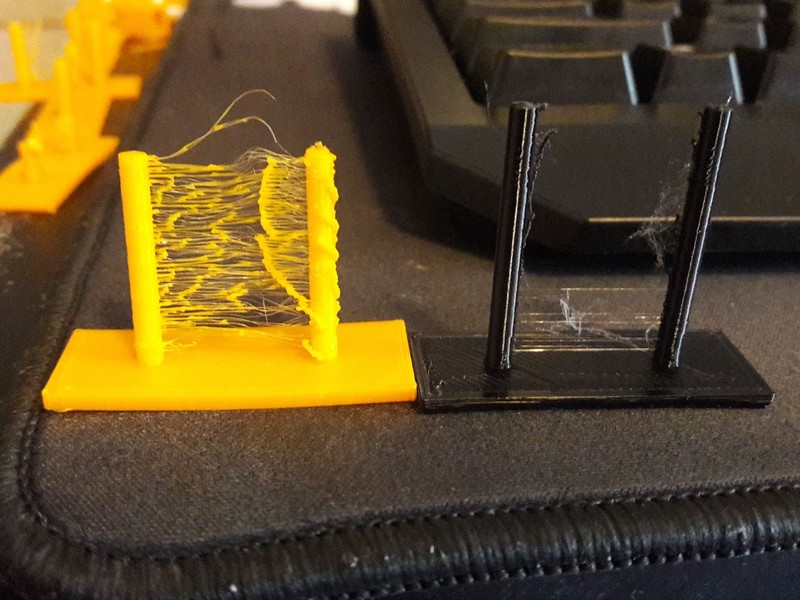
Your 3D printer’s nozzle needs to be hot enough to consistently melt your filament while keeping it at a temperature that your part cooling fans can keep up with for consistent cooling. A nozzle that is too hot will cause your prints to sag and become blobby, as the filament can’t be cooled quickly enough to maintain accuracy in your layer lines.

Too cold of a nozzle and your extruder won’t be able to push the filament through the nozzle, causing it to grind against the filament and jam.

To find this Goldy Locks zone of printing temperatures, there are a couple of settings you will need to tune.
Printing Temperature determines what temperature your nozzle will heat up to for the print job. The desired temperature will be different for every type of material, will differ between different brands of the same type of material, and can even change when using a different color of the same material and brand of filament. This is why testing and tuning are very important when using a filament that you are not familiar with already.

Here are the base nozzle temperature values for the most common types of materials:
- PLA: 180 - 220°C
- ABS: 210 - 250°C
- PETG: 220 - 250°C
- TPU: 210 - 230°C
Be sure to check the manufacturer’s website for recommended printing settings to get the best results with your specific type of filament. Start with a value somewhere in the middle and make incremental adjustments to your nozzle temperature until you find a value that works for your chosen filament.

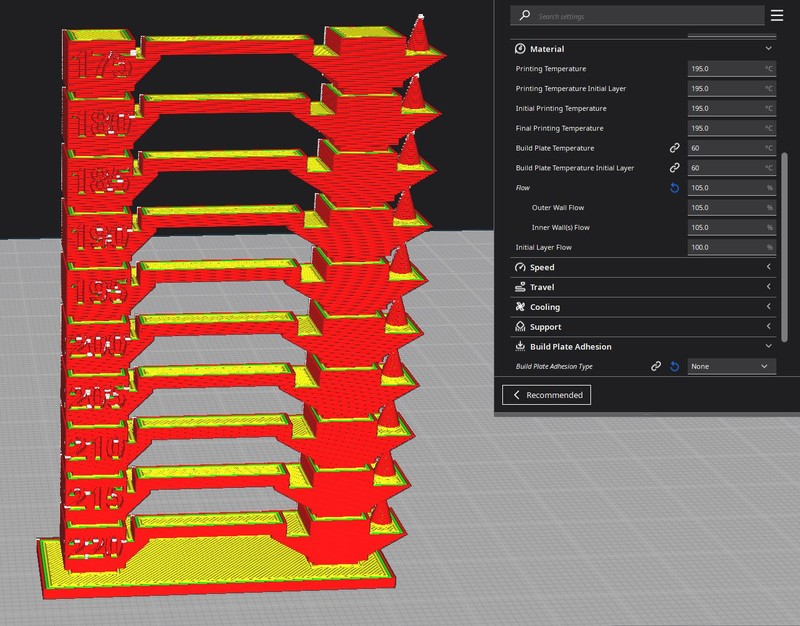
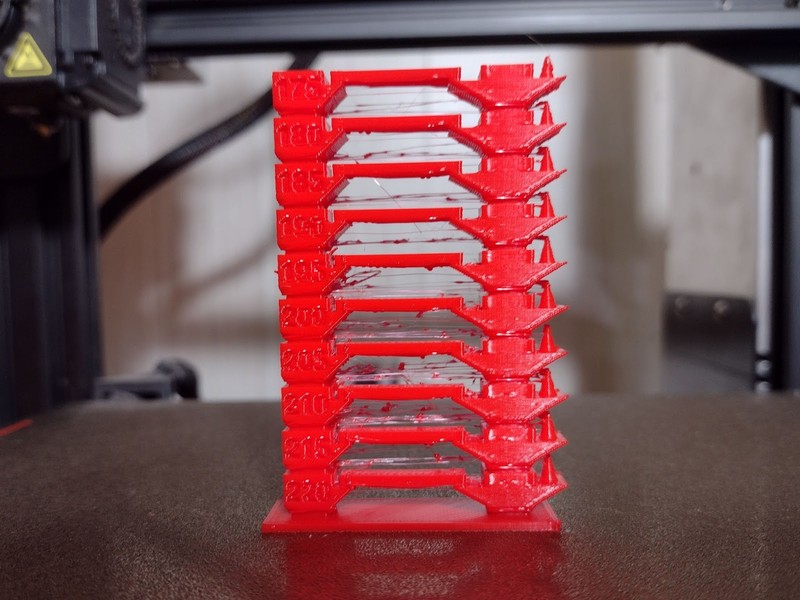
You can find the STL file for this temperature test print on Thingiverse.
Printing Temperature Initial Layer sets the starting temperature for your nozzle that will be used for the first layer of your print. Getting a perfect first layer is the most important step in print adhesion. If you find that your prints are coming loose and you have already cleaned and leveled your bed, increasing the temperature of the initial layer by 5-10°C can sometimes help.
Bed Temperature
Equally as important as your nozzle temperature is your bed temperature. Most materials require a heated bed to keep the first layer warm and stuck to the bed. If your print bed is too cold, these layers will begin cooling down and separating from the print bed, resulting in warping corners or failed prints. Too hot of a print bed will result in “Elephant’s Foot” on your prints, where the first few layers begin to melt and expand away from your print. This is especially prevalent in larger prints as the weight of the material on top of the initial layers will make this issue more noticeable. To get the perfect bed temperature, you will want to adjust your Build Plate Temperature and your Build Plate Temperature Initial Layer settings.
Build Plate Temperature sets the temperature at which your printer will maintain the print bed throughout the print job. Just like your nozzle temperature, the desired build plate temperature will depend on the type of material you are using. Here is a list of the base build plate temperatures for the most common materials:
- PLA: 55 - 70°C
- ABS: 90 - 110°C
- PETG: 50 - 80°C
- TPU: 30 - 60°C
Again, filament manufacturers will often have recommended temperature settings available on their websites. It is a good idea to use these settings when testing out new materials and adjust them as necessary to suit your 3D printer. Keep in mind that ABS, ASA, and a variety of engineering-grade materials require enclosures to maintain ambient temperatures and protect them from cooling too rapidly, which can cause the layers to split and the base of the print to warp.
The Build Plate Temperature Initial Layer setting determines the temperature at which your build plate is heated for the first layer of your print. Just like the Printing Temperature Initial Layer, you can adjust this value should you find that your prints are having a hard time staying stuck to the print bed. Adjusting your print bed temperatures will have fewer negative effects on your material than adjusting the nozzle temps, so we recommend changing this setting first before adjusting the Printing Temperature Initial Layer if possible.